Showing posts with label quilting. Show all posts

Saturday, June 24, 2017

Ships n' Sails - Quilt Pattern


This little quilt has me dreaming...

Ok...back to today's post. Bridgette of The Family Hearth created this wonderful mini wall hanging that will have you dreaming too! To visit Bridgette and to download the full tutorial,  simply click on the photo above.

Thanks for stopping by today. Oh...and Happy Sailing 😉

Thursday, March 9, 2017

Full Bloom Mini Quilt - Pattern & Tutorial


Such a pretty quilt! Perfect for your Spring decor. Bridgette of The Family Hearth has the tutorial on her blog as well as the free pattern download. With Spring right around the corner, this is a fast and easy project to bring Spring indoors. Visit Bridgette on her blog by clicking on the photo above.

Thanks for stopping by today!


Tuesday, February 16, 2016

Needles-n-Pins Stitcheries: Sewing Rulers

I am quilter at heart and I have used just a few rulers in my quilting journey, but lately I have been seeing so many new and different kinds of quilting rulers that I actually have purchased a few new one's and man-oh-man has it made the cutting processes much easier! There is a ruler out there to do any cut you need for your quilt fabric. I found this article on all the different rulers from Heather at the Sewing Loft Blog. She shows us a few of the rulers on the market. I actually just bought a 60 degree ruler for octagon piecing and it is just wonderful! :)


Happy quilting!

Colleen :)


Tuesday, August 4, 2015

Needles-n-Pins Stitcheries: Cutting Eight Half Quarter Triangles At A Time

So I am all about making my quilting processes easier. Cutting triangles can be time consuming and a hassle. I always want to get to the sewing process so cutting them faster sounds great to me! :)

Over at PatchworkPosse you can find this tutorial for how to cut eight triangles at a time. I tried and it worked great. This is my new way at doing this. :)


Thanks for stopping by and have a great week!

Colleen :)


Tuesday, July 14, 2015

Needles-n-Pins Stitcheries: Not Just Your Normal Fussy Cutting Video

Most of us quilters have done some fussy cutting in our years of quilting. I actually love to do fussy cutting and cut out the wonderful pictures that fabrics have on them these days, but this video shows you how to fussy cut all types of designs. After I watched this video I thought what a great idea and look at what I have been missing!!

Now I have all kinds of ideas that I want to do....oh no.....not near enough time to get all of them done! LOL! :)


Happy sewing and enjoy!

Colleen :)


Tuesday, April 28, 2015

Needles-n-Pins Stitcheries: Garden Flower Quilt Tutorial

Well looks like the springs showers have started so that means the May flowers will be coming soon. That means that all you quilters should be getting busy with your spring flower projects. I thought today we would have a video tutorial from one of my favorite places. Jenny over at Missouri Quilt Company shows us how to make a garden flower quilt out of charm packs. :)


I like to watch her videos as they are always easy to follow and she is so much fun. 

Happy quilting and have a great week!

Colleen :)

Needles-n-Pins Stitcheries
Needles-n-Pins Stitcheries Blog

Tuesday, March 18, 2014

Needles-n-Pins Stitcheries: Tuesday's Tutorials

When I see a good or interesting tutorial I always save it with the hopes of trying it some day. I am usually busy doing something that  the "some day" doesn't seem to happen very often. 

I thought maybe I would share some of them with you and maybe you could give them a try and see how they worked out for you. 

So here are a few I have found:


Burlap is "in" nowadays and for those of you that use it Ella Claire Inspired shows you how to wash and cut burlap.


I have several fabric basket tutorials. This is one of the tutorials at Foofanagle I am hoping to try "someday". :)


I really like this next one from Lots of DIY. We have several of these river rocks by our river and I thought what a cute idea to make one of these and put them in your garden. I plan on trying this one this summer. 


And then back to my love of quilting. I do lots of applique and that is probably my favorite quilt to do, so I thought I would share this tutorial from Creativity Amongst Chaos. I do mine a little different, but I thought this tutorial was very good and detailed. All you applique quilters can check it out. 


I know this is a variety of tutorials, but there is something for everyone! Have fun crafty, sewing and painting. :)

Colleen :)


Tuesday, January 28, 2014

Needles-N-Pins Stitcheries: Valentine's Fabric

Well January is about over and February is getting closer and our thoughts are starting to turn a little bit closer to springtime (YEAH!!) February is the month of Valentine's Day and if you are like me and a lot of quilters and sewing people we like to have a quilt made or sewing done for every month and season and function and, and, and..........:)

I thought I would show you some of the pretty fabrics there is to use on your next Valentine's project.


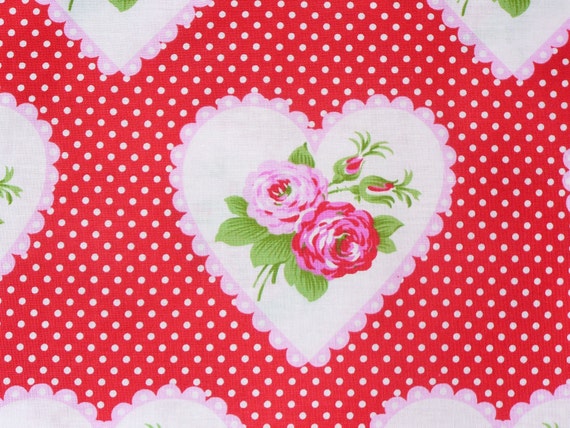
                           Valentine Fabric / Valentine Rose / Tanya Whelan

Deb over at trinketsintheattic has this beautiful rose pattern fabric


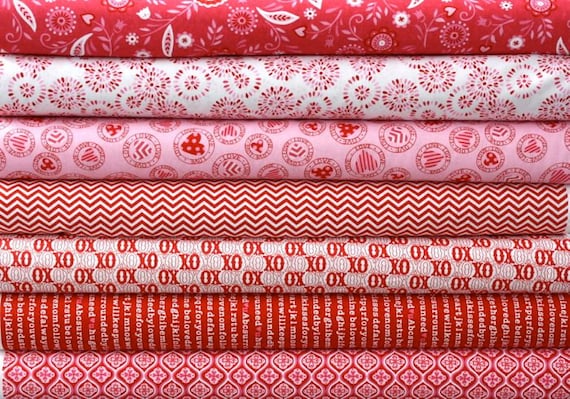
                                Surrounded By Love by Deb Strain for Moda Fabrics- 1 Yard Bundle (7 Yards)

CottonBlossomFarm has this great collection of pinks and red that would make a really nice quilt or wall hanging. 


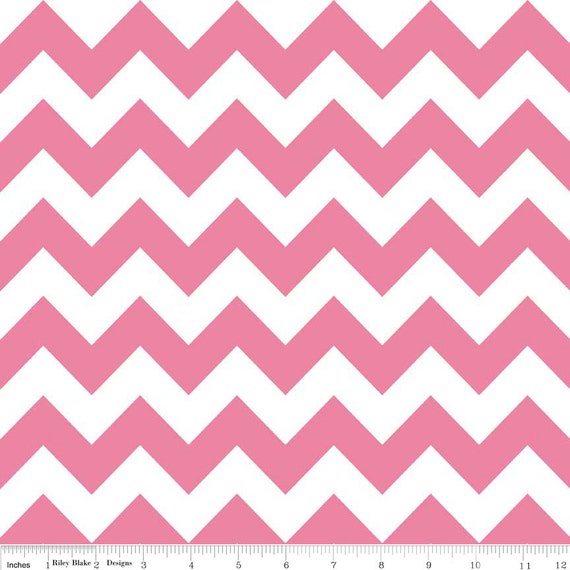
Pink Medium Chevron Riley Blake cotton fabric - 1 yard cut


One of the trends these days is the Chevron pattern and what a great Valentines pillow this would make. Jenny at GatherFabrics has this nice pink fabric. 


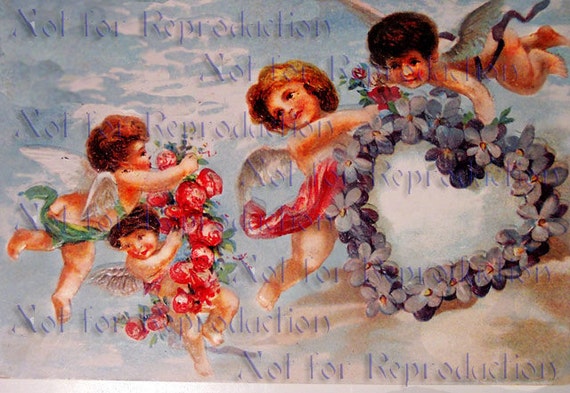
vdc21 Sweet Victorian Valentine's Day Love Cupids Heart Quilt Fabric Blocks for Decoupage.


Now if you want more of a vintage type fabric with pictures on it to maybe make a block wall hanging you can us the fabrics at wwwvintagemermaidcom. They have some beautiful fabric that they print themselves in all different size blocks. 

These are just a few of the wonderful fabrics that are available out there in "cyberland" for you to use on any Valentines project or any springtime project. Makes me want to get busy making some Valentine's Day stuff. :)


Have a great week!

Colleen :)


Tuesday, December 31, 2013

Needles-n-Pins Stitcheries: Prairie Point Quilting Borders

Now that the hustle and bustle of the Christmas season is done and we are starting a new year many of us can get back into our sewing rooms. I know mine is a mess from all the sewing I did for family and friends. So let's start sewing again. This is a tutorial that I found on HGTV.com on Prairie Points.

Calculating size

To determine the initial size of your points, consider the proportion of your quilt. Audition points of various sizes to determine what looks best. For the pictured project, one block in the quilt was measured, and that length was divided into about 3½ prairie points.


Folding:
1. Fold a selected fabric square into a half-square triangle, right sides out.
2. Fold the square again into a quarter-square triangle and press. Once folded, the raw edge will be the same length as the initial square.


Attaching:
1. With right sides together and raw edges aligned, place prairie points along one side of the quilt top. When satisfied with the placement and all points are pinned down, continue in the same manner around the rest of the quilt top.


2. Sew the prairie points with a ¼-inch seam.

3. Layer, baste and quilt the quilt top. Stop quilting about ½-inch from the edge.

4. Trim the backing ¼-inch beyond the raw edges of the quilt top and prairie points. Carefully trim only the batting slightly less than the raw edges of the quilt top and prairie points.

5. Turn the prairie points away from the center of the quilt. Note that the seam allowance turns inward. Wrap the backing over the edge of the batting. Secure the backing to the prairie points with pins, and hand-stitch to close.


Easy peasy. Actually I have made these before and they are pretty easy to do once you get the hang of them. 


Happy Sewing! 

Colleen :)


Calculating size
To determine the initial size of your points, consider the proportion of your quilt. Audition points of various sizes to determine what looks best. For the pictured project, one block in the quilt was measured, and that length was divided into about 3½ prairie points.
Folding:
1. Fold a selected fabric square into a half-square triangle, right sides out.
2. Fold the square again into a quarter-square triangle and press. Once folded, the raw edge will be the same length as the initial square.
Attaching:
1. With right sides together and raw edges aligned, place prairie points along one side of the quilt top. When satisfied with the placement and all points are pinned down, continue in the same manner around the rest of the quilt top.
2. Sew the prairie points with a ¼-inch seam.
3. Layer, baste and quilt the quilt top. Stop quilting about ½-inch from the edge.
4. Trim the backing ¼-inch beyond the raw edges of the quilt top and prairie points. Carefully trim only the batting slightly less than the raw edges of the quilt top and prairie points.
5. Turn the prairie points away from the center of the quilt. Note that the seam allowance turns inward. Wrap the backing over the edge of the batting. Secure the backing to the prairie points with pins, and hand-stitch to close.


Tuesday, October 15, 2013

NEEDLES-N-PINS STITCHERIES: TUTORIAL MINI QUILT POT HOLDERS-PART II


In my last posting I showed you how to make the top of the pot holders, so this time I will show you how to finish it. :)   I am sure there are several different way to do this, but this is just the way I do it. :)

 
Now that you have your pot holder front done you need to layer it and put it together. 


You will need to either make a binding or you can use bias tape. I always make my binding which I make like bias tape. I cut a 2 inch strip by width of fabric that is matching the potholder backing. Be sure you cut enough fabric to give you an appx 4 inch tail to make the hanging hoop later.

 
I cut the backing fabric about an inch larger than the pot holder front so there is enough fabric if the pot holder moves while sewing....just like when you quilt.


You will need to have one layer of Insulbright (which is for the heat resistant) and I add a layer of natural cotton batting. Cut these also an inch larger than the pot holder.


This is the type of batting I use, but you can use any brand you want.

 
Next you will need to put the layers together. The Insulbright goes down on top of the backing fabric so it will be closest to the heat source.


Now we need to sew the border/bias tape to the pot holder and batting. I sew about a 1/4 inch in which is the shorter end of the binding. If you want to at this time you can do whatever quilt stitching you would like before you sew the binding. I just do a stitch in the ditch around the center.


After you sew the binding on you will need to cut the excess batting off.

 
Now you will need to turn the binding to the back and make a hem out of it. Pin it all around the pot holder as you will do a decorative stitch on the front of the pot holder.


Sew a decorative stitch around the pot holder. I use a zig-zag stitch. Be sure to sew the 4 inch tail closed also as this will be the tab for hanging the pot holder.


Now you need to make the tab to hang the pot holder. You can either do it by machine stitch or you can do it by hand. I do it by hand as I like it better that way.


Now you are done! Your pot holder is ready for hanging in your kitchen.
 
 
You can make all kinds of different design and patterns! I know I do. :)


Thanks for joining me in my tutorial. Have fun creating! :)
 
 
Colleen :)


Friday, June 14, 2013

Today's Featured Shop -- Needles-N-Pins Stitcheries

Today's featured shop is  Needles-N-Pins Stitcheries.   Colleen offers a variety of handmades but specializes in stitcheries, quilts and totes.

She is also a new writer on our blog.
You can find her column "Needles-N-Pins" on Tuesdays where she will be teaching you all about sewing and home arts.

Enjoy the sampling of Colleen's work below.

Messenger Shoulder Bag, IPad, Nook, Kindle


Pillow Stitchery Primitive Folk Art Original Design Welcome Hand Stitched


Wall Hanging Shabby Chic Quilt Springtime Flower Basket Mini


Mug Rug Coaster Quilted Stars Stripes Red White Blue


Be sure and visit Colleens's shop to see all she has to offer.   http://www.etsy.com/shop/NeedlesnPinsStichery

Friday, May 31, 2013

Today's Featured Shop -- Susie B Designs

Today's featured shop is Susie B Designs.     Susan designs unique pillows and quilts from beautiful fabrics.  Here are some of my favorite items from her shop.

Christian Cross Quilt - Watercolor Art Quilt - Peacock Colors


 Raspberry Pillows - Silk - Ruched Fabric


Rose Pillows - Gold Embroidery - Very Unique


 Gold and Blue - Sunny Day Starry Night - Art Quilt - Van Gogh Inspired


Be sure and visit Susan's shop to see all she has to offer.   https://www.etsy.com/shop/SusieBDesigns