Popcorn Box Journal
Not only is this gift delicious, it is also EARTH friendly because instead of throwing away your box of cereal, mac-n-cheese or POPCORN, you turn your box into a one-of-a-kind journal.
For this journal I used a box of popcorn but you can use any box really.
You will need the following:
-1 box of popcorn, or cereal, or granola bars
-31 single sheets of copy paper (8 x 11)
-1 single hole puncher (makes holes one at a time)
-3 small birthday candles (huh? trust me...get the candles)
-clear tape
-3/4 yard of thin ribbon
-a credit card (again, trust me)
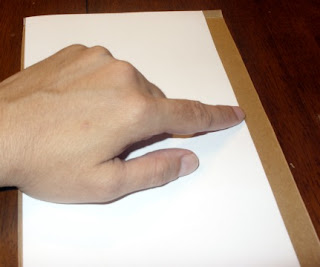
First, fold all of the copy paper "hot dog" style (long style) and run your credit card on the fold to make sure you get a nice, smooth, thin crease. Make sure that all your folded sheets look nice and even. Now, get one sheet from your stack and hole punch several evenly spaced holes about 1/4 of an inch from the folded edge. This sheet you will use as a template for the other 30. To give you an idea, I hole punched 22 holes into my template. Now use your template to hole punch the rest of your 30 sheets. Make sure that you line up your folded seams.
Once done, have your significant other massage your hole-punching-hand...you're welcome.
Now carefully cut the box in a manner that gives you a "front" part of the box and a "back" part of the box.
Gently pull apart all the flaps until you have two flat pieces of cardboard. Lay a folded sheet on top of the front of the box and do the same for the back. This gives you a good idea of how big of a cover to cut out. Use the folded seams of the box to guide you as you cut out the covers.
Leave about a 3/4 inch ONLY on one side of the front and the back covers. Using a folded paper as your guide, fold or bend the 3/4 inch for each cover. Once the journal is assembled, these folded/bended flaps will nicely fold into each other and give the journal a polished look as seen in the first picture.
Again, use your credit card to smooth out the crease. Use your template to hole punch both covers.
Now sandwich your back cover, the copy paper and the front cover together making sure to line up the holes you punched out. Count 5 holes up from the bottom and insert a candle right through all the holes. Holes 1 through 4 should be lined up. Now count 5 more holes up from the first candle and insert another candle. Holes 6 through 10 should be lined up. (Sorry for the non pictures here.)
Now you are ready to thread your ribbon. Tape one end of the ribbon to the 3rd birthday candle. You will use the candle as a "needle" to thread your ribbon through the holes of the journal.
Starting at the bottom, insert the candle through hole 1 and leave double the length of the journal in ribbon. This tail will be woven into the spine of the journal and wind up at the top of the journal. It will serve as a "book" mark. Now go over the spine and around to the back of the journal and insert candle into hole 2; up and through the hole and over the spine and around to the back of the journal and insert candle into hole 3; repeat until you reach the top. Make sure that the ribbon tail is nicely tucked underneath your ribbon threading and that your threading isn't too tight or loose. AND remember to continue moving candles 1 and 2 up to keep your holes lined up.
Once you get to the top, measure and cut another ribbon tail to match the first one. Tie the two tails together into a knot. Now these can be used as book marks.
And please, please don't forget to give the gift recipent the bags of popcorn that came in the box now turned spiffy journal.
Be sure and stop by and visit Carmen's blog and say hello. She has more great tutorials on her blog.
http://rocaandcompany.blogspot.com
Thanks, Carmen, for sharing with us today.


