Upcycled Organizers
With a new year we get a fresh start to get our lives more organized. And if your organizers are free (and cute) it’s even better! This project uses castaways from your recycle bin and things you already have in your home.
Ideas for Supplies: Empty oatmeal, coffee or nut containers. An old sweater, scrapbook paper, contact paper or wallpaper. Doubled sided tape or strong multipurpose glue. Random embellishments including buttons and stickers. Number stickers and punches to make tags. Ribbon or twine. A ruler, and paper trimmer or scissors.
1. Rummage threw your recycling bin for some usable containers and clean them up. Gather your supplies, including a ripped, torn or too-small sweater
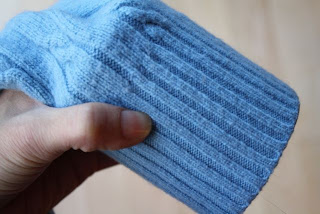
2. To wrap a tin in sweater material, measure the length you need to cover it and cut the cuff etc off one arm of the sweater using glue to secure. Embellish.
3. To cover a container in scrapbook paper, measure the length of the space you need to cover and trim your paper to that size. Attach using double-sided tape or glue. Add thinner strips of coordinating paper or other embellishments.
4. To cover a small coffee tin, use contact paper or fabRips. Trim to size and gently stick on container, going slowly to prevent air bubbles
5. Use paper punches to create tags and affix number stickers. Punch hole in tags and use twine to secure on container
6. Fill your cute containers with stuff you need to keep handy
7. Congratulate yourself on a completing a fast, fun and free(!) project
Happy Organizing!
Thanks, Malia, for sharing your tutorial with us today. Visit Malia's blog at
http://www.yesterdayontuesday.com
http://www.yesterdayontuesday.com


Oh, these are great. I always feel so guilty throwing these things away, just knowing there has to be something that could be made with them.
ReplyDeleteCarol
Adorable ideas! Love them all!
ReplyDelete