Soups are the perfect food to me with our fall weather. I have this cooking in my crock pot right now as I write this up.
Crock Pot Potato Soup
Ingredients:
1 onion, diced
1 c. diced carrot
1 c. diced celery
1 glove minced garlic
8 c. diced potato
2 c. chicken stock
2 c. water
1 tsp. salt
1 tsp. pepper
1 tsp parsley flakes
2 cups milk
Add all ingredients except the milk. Cook in the crockpot on high for approx. 5 - 6 hrs. Crockpots do vary so check on it after 4 hrs.
When the potatoes are soft, turn the crockpot down to low. I like my potato soup smooth so I use my immersion blender to puree the soup. Then slowly add the milk while stirring the soup. Let heat through for about 30 min.
You can add grated cheese or crumbled bacon or dollop of sour cream on top of each serving.
We also occasionally add broccoli instead of carrots.
Saturday, October 16, 2010
Friday, October 15, 2010
Trash to Treasure --- File Cabinets
Our guest poster today is Lindy from Lindy Cottage Hill Blog.
I have a dirty little secret. These simple little covered night tables with their very clean lines
started out life as one of these...
Nasty, I know. But true. I cleaned, sanded, and spray painted them using the last drop in more than one can and color of paint. Waste not, want not. It wasn't going to show anyway and wouldn't really bother anyone I know -- except maybe my mother.
I expanded the size of the top just a smidge because I wanted a little more space on top and because I needed the cover to drop down freely over the sides. I glued a 1/2" piece of plywood the dimensions I wanted to the top using liquid nail and a small child to sit on it for a couple of hours while the glue dried. Not really, I used heavy books but I like the "small child" idea.
The topper was simple -- just four flaps cut to fit the four sides and 4 smaller flaps (mine are about 10" wide) cut to cover the corners. I added the tiny bows to "cute" it up a little and to keep everything in place.
All the extra storage comes in really handy.
Lindy
http://lindycottagehill.blogspot.com/
I have a dirty little secret. These simple little covered night tables with their very clean lines
started out life as one of these...
Nasty, I know. But true. I cleaned, sanded, and spray painted them using the last drop in more than one can and color of paint. Waste not, want not. It wasn't going to show anyway and wouldn't really bother anyone I know -- except maybe my mother.
I expanded the size of the top just a smidge because I wanted a little more space on top and because I needed the cover to drop down freely over the sides. I glued a 1/2" piece of plywood the dimensions I wanted to the top using liquid nail and a small child to sit on it for a couple of hours while the glue dried. Not really, I used heavy books but I like the "small child" idea.
The topper was simple -- just four flaps cut to fit the four sides and 4 smaller flaps (mine are about 10" wide) cut to cover the corners. I added the tiny bows to "cute" it up a little and to keep everything in place.
All the extra storage comes in really handy.
Lindy
http://lindycottagehill.blogspot.com/
Thursday, October 14, 2010
Welcome To My Studio ---Sew Chic and Unique
Today's featured studio belongs to Mayya of Sew Chick and Unique. Click on the pictures for a larger view.
Welcome to my sewing room. This is what you see as you open the door.
Check out this carpet. I LOVE the heart and it was made for me – bought it from Ikea
Turn to your left and you see my cutting table
above this i have 2 Ikea Lack shelves
and on the other side of this is my office 

http://www.sewchicandunique.com
Welcome to my sewing room. This is what you see as you open the door.
Check out this carpet. I LOVE the heart and it was made for me – bought it from Ikea
Turn to your left and you see my cutting table
Lets us take a closer look of the cutting table shall we?
The table is actually not a table at all but 2 Ikea Lack bookcases placed on their sides!
and right next to this is where i keep my fabrics, the bookcase with the glass shelves stores my non craft books
and the plastic drawers i keep my work in progress projects
Then there is a big window in the middle of the room
the same one you were faced with upon entering and to the right of that is the Expedit Bookcase which I LOVE
I stenciled “Connect to the world” above my workstation
Back to my workstation for a closer look
next to this another big window and my sewing machine
The L shape Galant ikea table is a great table for sewing on, plenty of space
So here is the before
and the after
I do hope you enjoyed this tour of my creative space
Thank you for stopping by

http://www.sewchicandunique.com
Labels:
craft room,
craft room tour,
craft studio,
sew chic and unique
Wednesday, October 13, 2010
Handmade Spotlight - Burlap
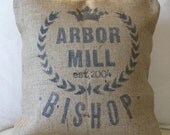
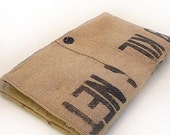
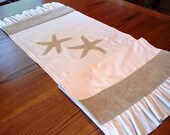
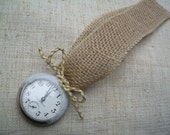
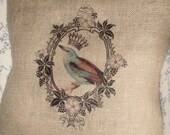
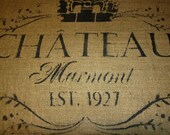
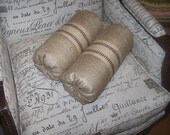
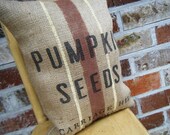
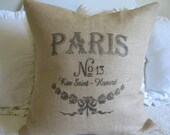
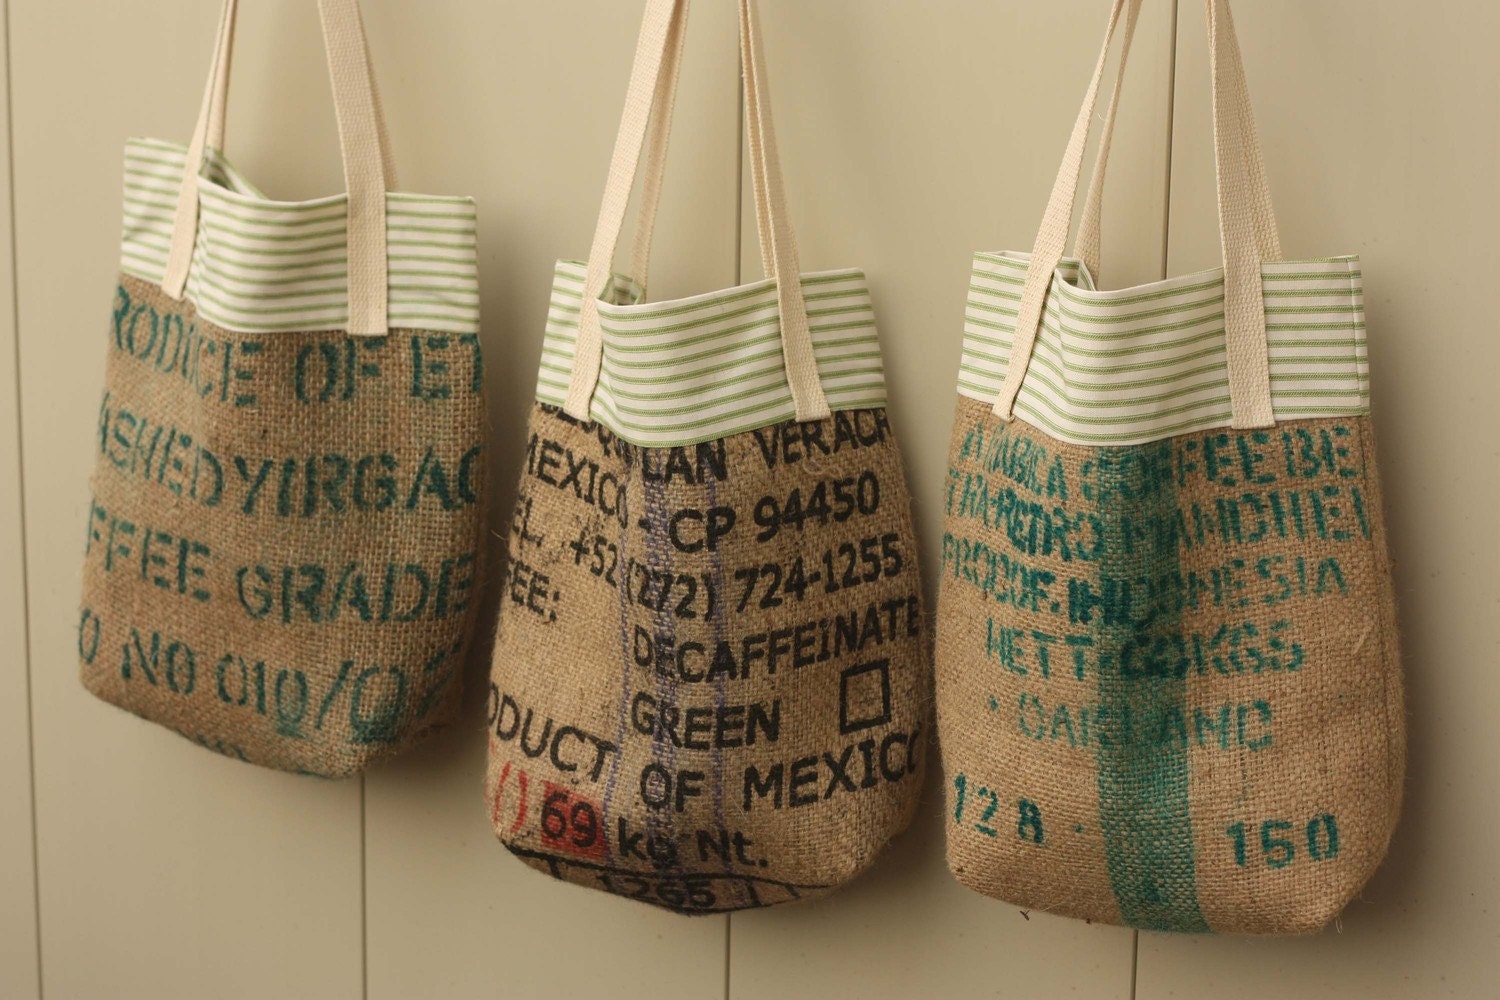
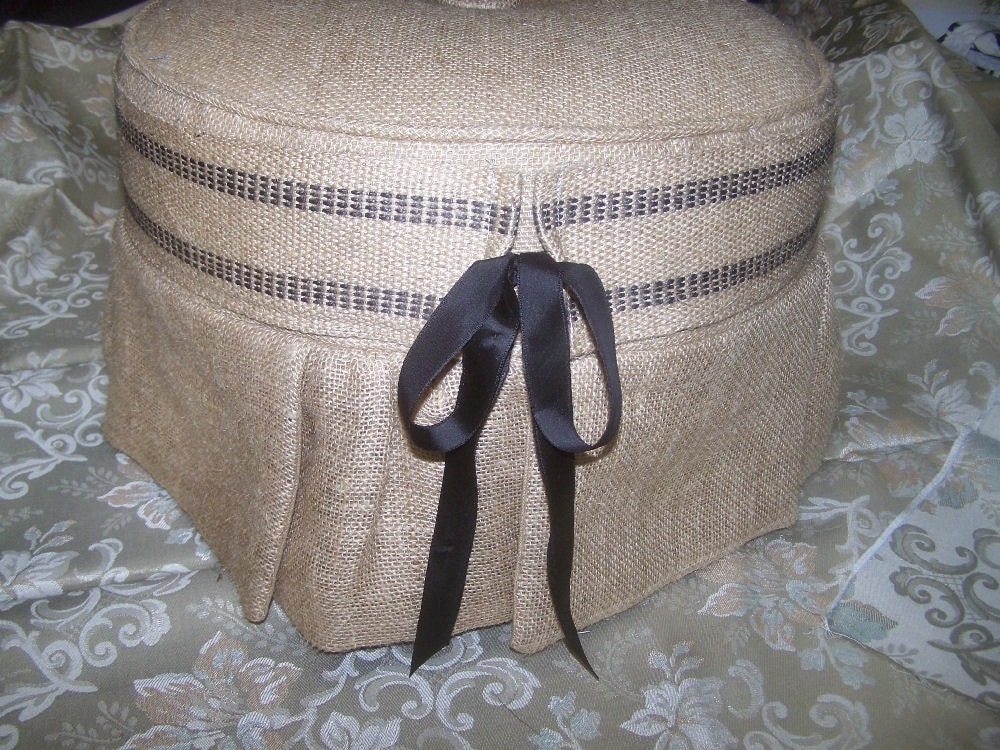
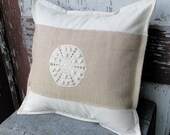
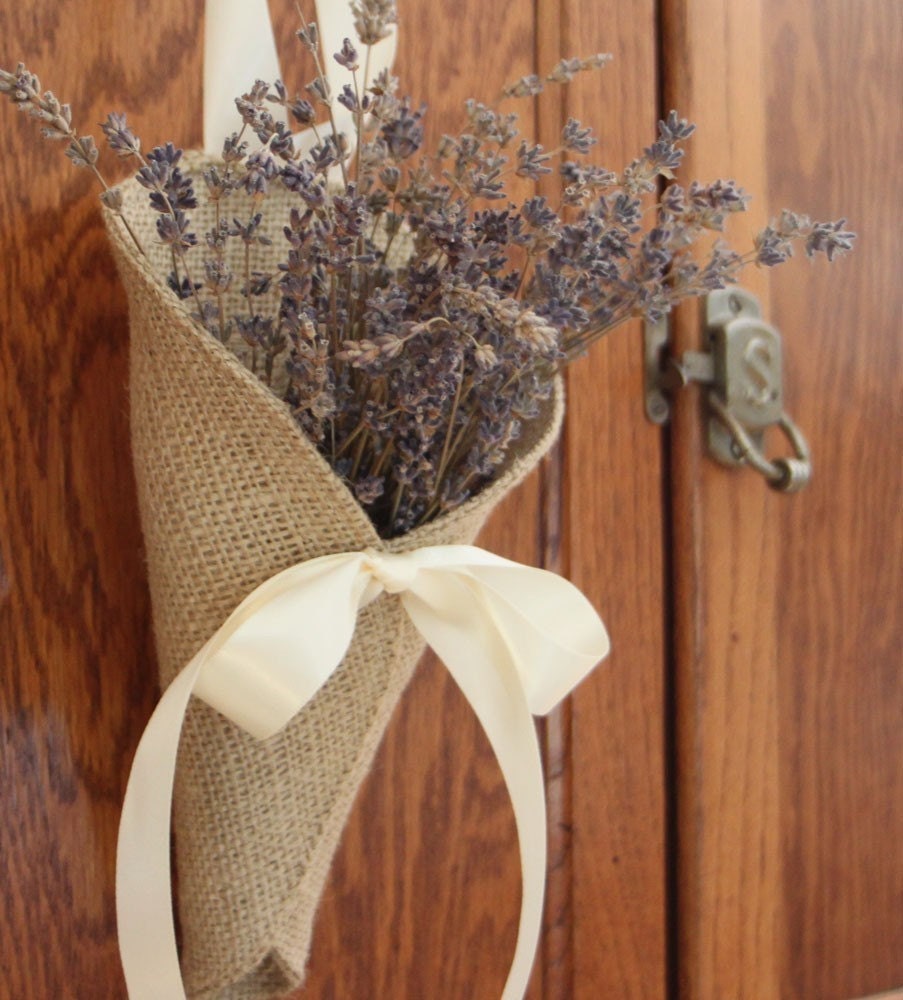
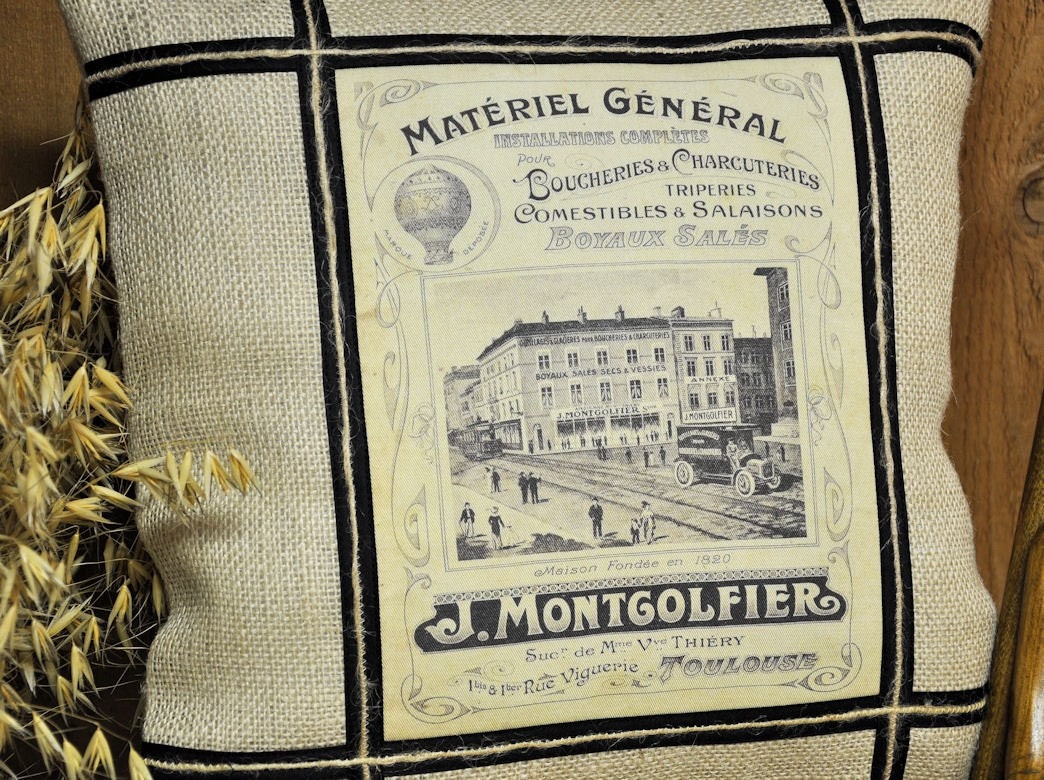
Crafting and decorating with burlap is very popular right now. Check out all these wonderful items I found made with burlap.
$35.00 | $47.00 |
$62.00 | $22.00 |
$35.00 | $68.00 |
$26.00 | $40.00 |
$22.00 | $28.00 |
$10.75 | $20.00 |
$139.00 | $23.95 |
$10.00 | $36.00 |
Labels:
Burlap,
Handmade Spotlight,
handmadespotlight,
Spotlight
Tuesday, October 12, 2010
Tuesday Tutorial --- Denim
One of my favorite things to recycle is denim. Friends usually keep me well supplied with their old jeans but you can find them at yardsales and thrift shops pretty reasonably priced.
Today I thought I would share some unique items I found online made from recycled denim.
Isn't this apron cute? It is made from the back of a pair of jeans. The tutorial can be found here.
http://blog.betzwhite.com/2007/07/by-seat-of-my-pants.html
Now this is really useful for all those electronic goodies you can't live without. The caddy instructions can be found on here. http://www.instructables.com/id/Protect-the-Tech/
This denim rug is made from lots of squares of denim from shirts and skirts and other lighter weight denim.
http://www.allfreecrafts.com/sewing/denim-rug.shtml
And finally here is a pillow made trendy with ruffles around the middle. I don't know where this came from but the picture is self explanatory. The pillow can be made from part of a pants leg, just sew both ends closed after filling with stuffing. Gather a long strip of fabric for a ruffle and attach to the middle of the pillow and finally, stitch some vintage lace around the middle of the ruffle.
Hope this sparks some recycling ideas for you.
Thanks for visiting today.
Bette
Today I thought I would share some unique items I found online made from recycled denim.
Isn't this apron cute? It is made from the back of a pair of jeans. The tutorial can be found here.
http://blog.betzwhite.com/2007/07/by-seat-of-my-pants.html
Now this is really useful for all those electronic goodies you can't live without. The caddy instructions can be found on here. http://www.instructables.com/id/Protect-the-Tech/
This denim rug is made from lots of squares of denim from shirts and skirts and other lighter weight denim.
http://www.allfreecrafts.com/sewing/denim-rug.shtml
And finally here is a pillow made trendy with ruffles around the middle. I don't know where this came from but the picture is self explanatory. The pillow can be made from part of a pants leg, just sew both ends closed after filling with stuffing. Gather a long strip of fabric for a ruffle and attach to the middle of the pillow and finally, stitch some vintage lace around the middle of the ruffle.
Hope this sparks some recycling ideas for you.
Thanks for visiting today.
Bette
Subscribe to:
Posts (Atom)