


First, I started with one of these plastic tool boxes.

Then, I started sorting through my paper scraps. I have a lot of them. I had a lot that were like this too... a nice sized piece of paper with just one or two pieces punched out. (who did that!!) ;-)

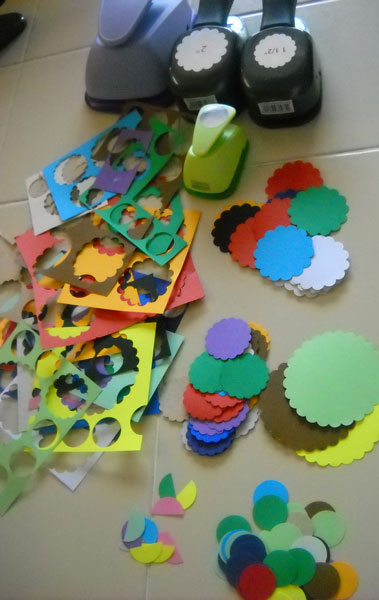
Once, I had them sorted out, I sat down with my punches and punched out various sized scallops and circles. Now I'll have quite a few to choose from and it'll be a lot quicker to just grab one that's already punched out when I need it.
I put the rest of my bigger sized scraps in in the bottom of the toolbox. They fit quite nicely in there.

I put my paper trimmer on top of the scraps... a perfect fit!

Next, I added some things to the tray that is inside the toolbox... scissors, ink pad, punches, bone folder, glue sticks, ribbon and some string.

With this particular toolbox, there is another compartment built into the lid. I was able to add more things there. You'll see my punched pieces in there along with some buttons, embellishments and some floss.

I think these tool boxes would be great for organizing sewing notions too. I have another one and just might give that a try sometime.
Thanks for joining us as again today!
Deena Davis
www.byyourhands.com


