


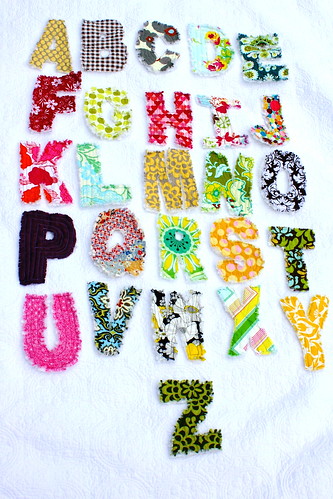
I saw this tutorial the other day from Happy Together Blog and thought what a great idea to make these for your little kids or grandchildren.

This is the way Jessica did them, but I am sure you could modify the process to your liking. I wish my grandkids were still young enough to use these. I think they would be a great learning tool also.
She printed off letters from Microsoft Publishing which I think would be fine. I get most of my templates for sewing from coloring books. I think they have the best pictures for templates.
So here is the tutorial. I think I might just have to try making these also. I have a baby niece that might just like them. :)
-Scrap Fabrics for front
-Fabric for back (I used vintage chenille)
-Quilt batting (I used felt on the lower case letters to make it more stiff and interfacing on the numbers.)
-Fabric pen
-Sewing machine, scissors, etc.
Directions:
1. Print out letters to trace. I used Microsoft Publisher to create the letters and made them all the same size and used the same font. You could do this in Word as well, or Photoshop. You could also just free style it, etc. Cut the letters out.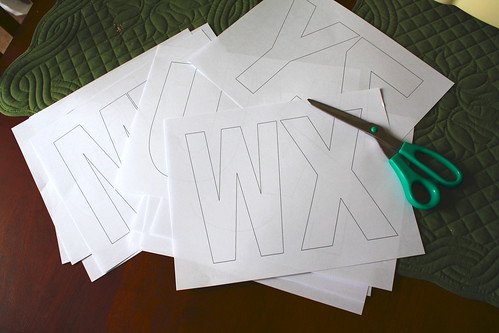
2. Trace the letters onto the fabric that you will use for the top.
3. Cut the letters out in square shapes.
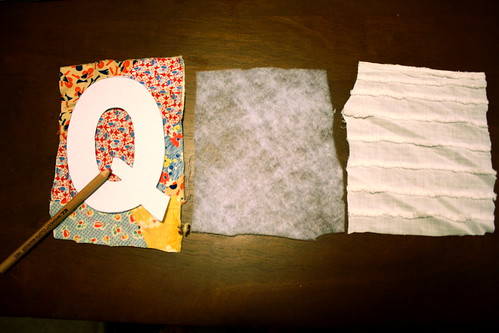
4. Cut out squares of quilt batting and backing that will be the same size of the letter.
5. Make a sandwich of the fabrics and quilt batting. Place the back fabric right side down. Then place the piece of interfacing on top of that. Next, place the top fabric right side up. Pin together. Sew on the tracing.
6. If you desire, you can quilt it or just leave it.
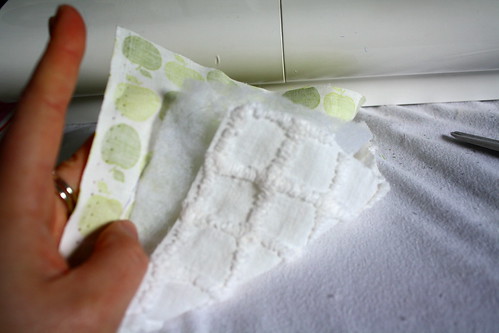
7. Trim the edges of the three layers. Leave at least 1/4 inch around the edges of the letters.
8. Clip the raw edges. Make clips straight into every seam allowance. Stop before you reach the seam allowance.
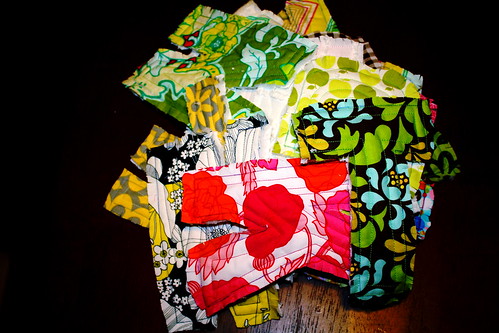
9.Throw it in the washing machine and then the dryer. They will come out all raggedy around the edges.
Looks pretty easy peasy to me.....just the type of project I like! :)
Have a great week!
Colleen :)


