


I love the look of antique animal and vegetable prints. The ink drawings have such character to them. I was looking at one of the pictures I found and saved to my laptop. I thought how nice this would look if I somehow could cut it out and make it stand on my mantel. I have sewn paper before so I thought it would be easy and it is!!
Here is what I did to make these great Paper Pets.
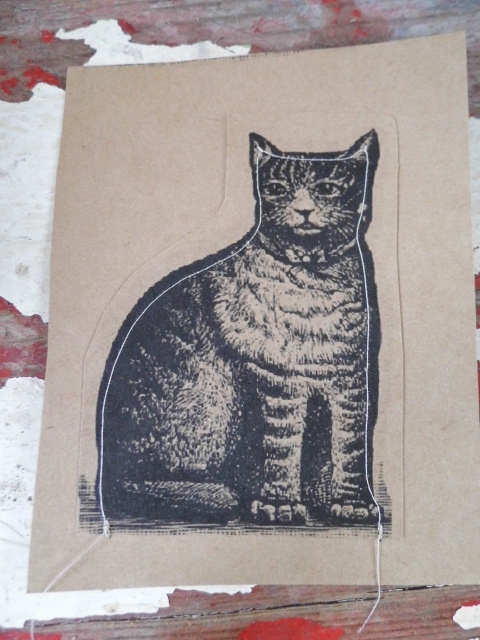
1 – First find a print you love that is not too busy, keep in mind you have to be able to sew around its outline. Make sure the image is not copyright protected. I chose paper cats.
2 – Save the picture you have chosen to a printable
document. I use “Word” to save mine. But you can use whatever program you want.
3 – You will need heavy card stock paper to print your image on. I have used card stock that looks like brown craft paper for my cats. I like the antique look it gives my projects. You can choose whatever color you want.


7 – Now slightly open your paper image at the bottom and lightly stuff the inside with fiberfill. If you have a stuffing fork it will come in handy and make it easy to do. Make sure you use very small pieces of stuffing. If you over stuff or use to large of a piece at one time you may bend and crease your image. Only stuff it half way down.
8 – The stuffing should make the open section stay slightly open and stand by itself. You can glue a piece of paper in the inside over the fiberfill if you want but it is not necessary, unless you intend to show off the bottom.

9 – If your piece does not stand quite straight look to see where you need to trim a bit of paper off the bottom. Trim it in very small slivers; you can always trim more if needed.


