


This floral bottle board is a good example of "one person's trash is another person's treasure".


Despite the hot-glued bugs, this wood sign is in excellent shape and already has a whimsical wire hanger. Bugs are easily picked off (and set free into the wilds of my patio plants) and a good coat of paint with primer will cover this sign's current message. Add some vintage bottles I scored for $3 at auction last week and I would have my own custom floral board.

What you will need for this project:
* Wooden Sign * Small Glass Bottles * Sandpaper * Paintbrush * Foam Brush * Spare Paint * Mod Podge * Scrapbook Paper * 22 Gauge Wire * Wire Cutter * Ruler * Pencil * Upholstery Tacks * Small Hammer

Start by sanding the entire sign, front, back, and sides.
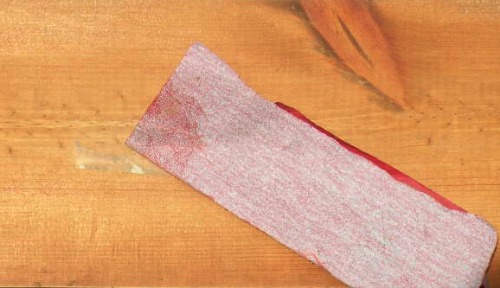
Apply one coat of neutral paint with primer. I used some leftover interior paint from the garage.

Paint that gets on the wire can be scraped off with a damp towel, or use sandpaper if the paint has dried.


Sand edges of paper to decrease the harsh line where the paper ends.
Apply a second coat of Mod Podge over paper and entire front of sign.

Using a ruler, mark the center point of the sign. From there, make a mark every two inches on either side.

With a small hammer, pound in upholstery tacks at each pencil dot. Leave about 1/4 inch open to wrap wire. Add some distressing by randomly hammering the board to leave strike marks.

Using 22 gauge wire (or stronger, depending on bottle size), cut 12 inch strips. Place bottle neck in center of the cut wire, wrap wire twice and twist until the wire is secure and the bottle can't slip through.

Bring wire ends up and wrap around upholstery tack twice, twisting together for extra security. Snip extra wire with wire cutters.

Repeat this process for all bottles.
Lightly hammer tacks to be sure any extra space around wire is tapped into the board.

Hang sign and tug bottles lightly to be sure they are secure.
Fill each bottle with 1-2 inches of water. Too much water could create too much weight.

Now the bottles are ready to display your favorite garden flowers!

Display inside or outside and enjoy!

LOVE & UP-CYCLE NATION!
Jacquie Wheeler
Hand of Bela Peck


