Today I am showing you how to make a Burlap Rose. Burlap is very messy and because it is a woven material it falls apart on the edges. I like my roses neat so here is my version.
Supplies
Piece of burlap, 25 inches long (or desired length) x 3 1/2 inches wide
Craft Bond glue or Fabric Hot Glue
Small piece of matching felt
Metal Pin Back
Matching thread
Iron your piece of burlap in half.
Fold the ends back and stitch them with a short zig zag stitch. Turn them right side out.
Stitch down the length of the burlap with a small zig zag stitch, 3/4 of an inch in from the edge.
Stitch another row of stitching right next to the first one.
Trim the excess fabric away from the outer edge.
Now with a straight stitch, stitch about one inch from the edge and then pinch about 3/4 of an inch of fabric folding it under to make a pleat.
Continue to fold the pleats and stitching across them to the end of the fabric.
Your finish piece will look like this.
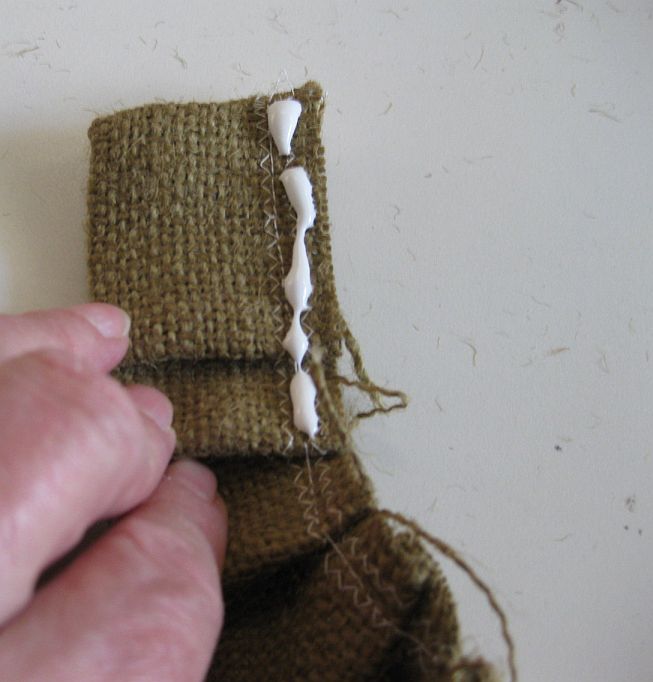
Now with your craft bond glue or if you prefer you can use fabric hot glue sticks, start putting a line of glue along the edge. ( I prefer the craft glue because hot glue has a tendency to melt in hot weather.)
Start rolling the fabric from the end.
Continue glueing and rolling to the end of the fabric.
If you used craft glue, pin the end of the rose so it stays together while it dries, several hours or over night. If you used hot glue, you can go to the next step right away.
Here is the finished rose. You can determine the size of the rose by using a longer or shorter length of burlap.

Cut a circle of felt the size of the bottom of the rose. Glue or stitch the pin back to the felt.
Glue or whip stitch the felt to the bottom of the rose.
Your rose is done. Use it on a pillow, purse or on your lapel.
Hope you enjoyed today's tutorial.
Thanks for visiting today.
Bette
http://www.bettestomorrowstreasures.com
http://www.handmadebybette.com