Witches Stitches - Penny Rugs – How to Make One
I have always loved penny rugs. They come in every color and size and look wonderful in any decor. You can make them to match seasons or holidays. I have always wanted to make one. I decided I should start with something a bit smaller, like a candle mat. So that is what I am going to start with.
You can use any felt you choose for your Penny Rug, but I chose to use the less expensive felt you can buy in a craft store for my first try. When I get good at it I will buy good quality wool felt. The good quality wool felt can be a bit pricy so the craft store felt it was for the first try.
Instructions
Get together the colors you want to use for your project. Take your time in choosing by laying the colors on top of one another to make sure they will look good when your project is done. Colors you may think will look good together may not when placed on top of one another. Also you will have to choose a color for your background piece.
Once you have done that draw your template on paper. Draw the shape you want for the background then the pennies. You can use any number of round items to cut the circles for your rug. It all depends on what size your project is, you can even use pennies!!
Organize the pieces for the penny rug by color on the background. When you have it all in place, everything fits and you are happy with the way it looks you are ready to start sewing.
Sew the pennies together one on top of the other, then sew them to the background piece.
You will stitch around the edge of the background and then attach the pennies using a blanket stitch.
Knot your thread, and bring it through the edge fabric from back to front. Take the thread down through the fabric approximately 1/4 inch away on the diagonal from the original entry point. Come up through the fabric at the edge of the felt. Keep the thread under the needle to create the blanket stitching.
I know this sounds like a lot but it is easy and I am sure there is something on u-tube to show you how.
Once you do this with each penny on each stack and it is all stitched on the background you are done.
As I said you may want to start small, but when you make one you will want to make another.
Enjoy and as always if you have any questions, give me a shout.
Faith
Thursday, July 18, 2013
Witches Stitches - Penny Rugs – How to Make One
Wednesday, July 17, 2013
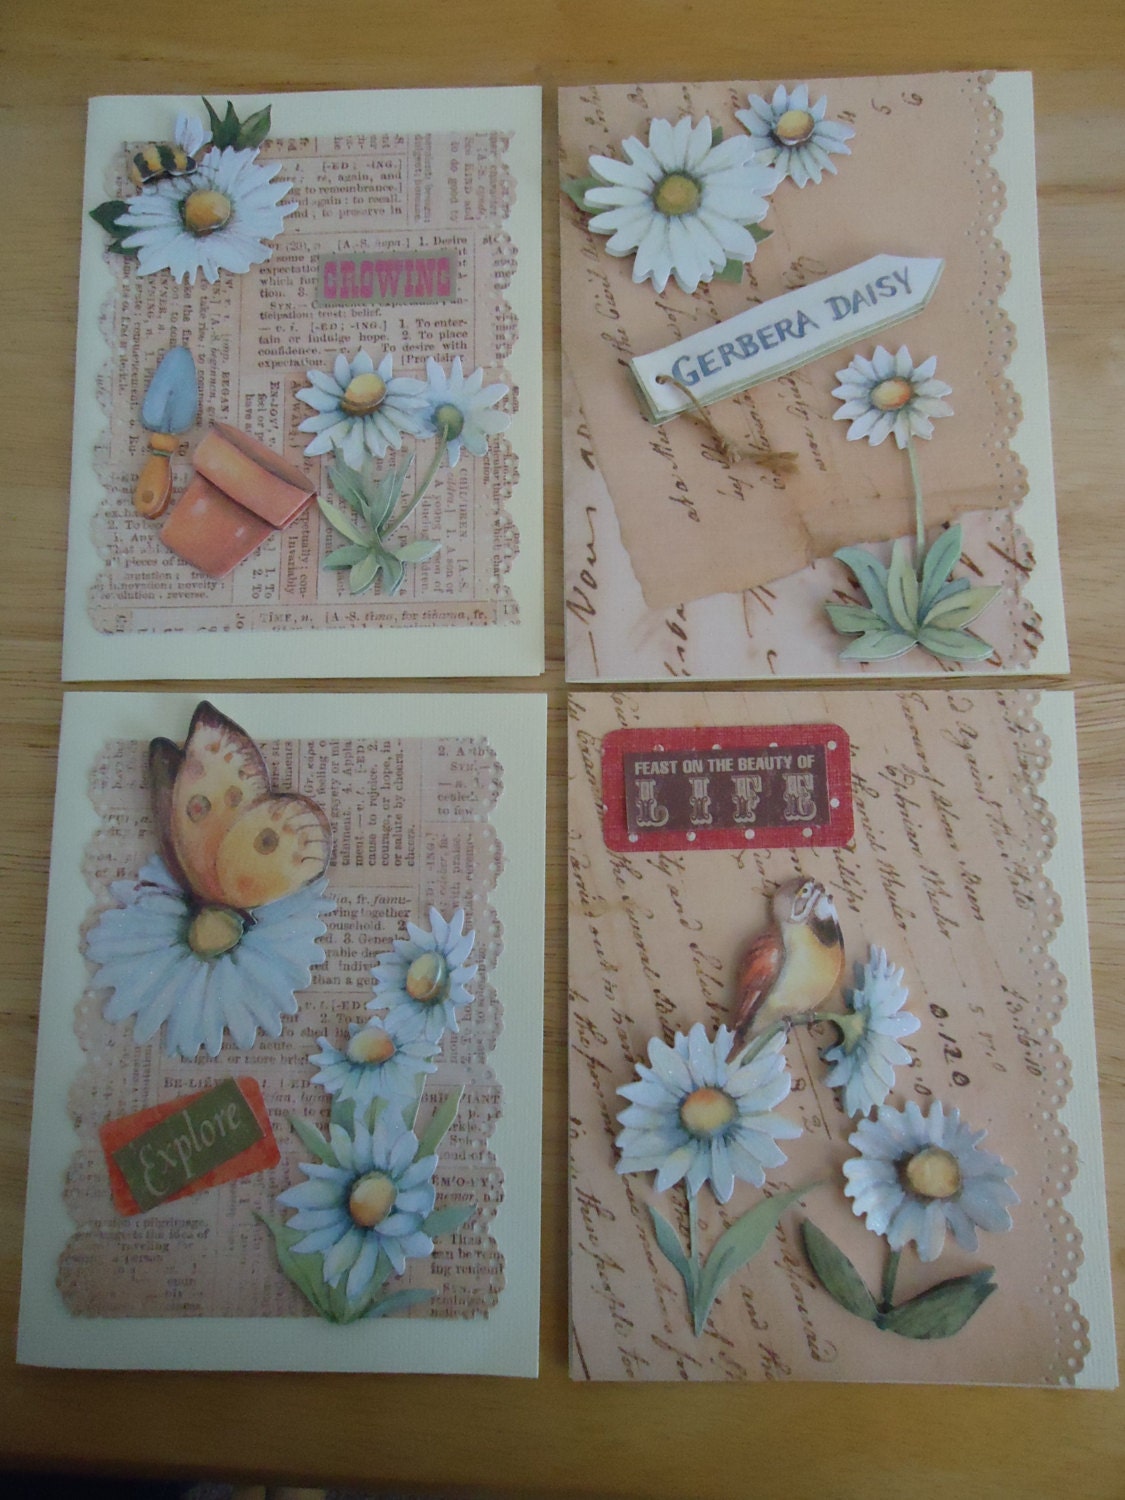
Handmade Spotlight - Victorian Dreams
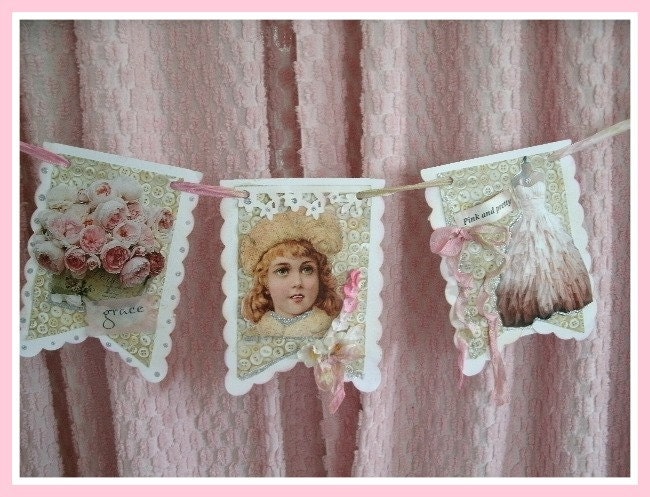
Check out this great selection of victorian paper items. You can view this entire treasury
by Clicking Here, or you can click on each item to see it in greater detail.
Sponsored by send bulk email from excel.
Tuesday, July 16, 2013
Tuesday Tutorial - Rag Quilted Tissue Box Cover
This fits a 9 in. x 4 3/4 in. x 3 in. tissue box.
Supplies
Fabric - 1/3 yard
Batting - 1/4 yard
Matching Thread
Instructions
Cut 2 top pieces from fabric, 6 1/4 x 10 1/2 in.
Cut 4 long side pieces from fabric 4 1/2 x 10 1/2 in
Cut 4 short side pieces from fabric 4 1/2 x 6 1/4 in.
Cut 1 top piece from batting 5 1/4 x 9 1/2 in
Cut 2 long side pieces from batting 3 1/2 x 9 1/2 in
Cut 2 short side pieces from batting 3 1/2 x 5 1/4 in
With wrong sides together lay the two top fabric pieces down with the batting piece on top. Draw an opening in the middle of the batting, 3/4 in wide x 4 1/2 in long.

Stitch on the marked line. Cut the opening down the middle to within 1/4 inch from the ends. Cut into the corners up to the corner seam line. Be careful not to cut into your seam.
Trim the excess batting away. Pull one top piece through the opening and turn the top piece right side out.
Topstitch around the opening and then machine quilt where indicated by the blue lines.
Put your side pieces together by sandwiching a piece of batting between the two fabric pieces. Machine quilt all four side pieces in the pattern indicated by the blue lines.
With wrong sides together, the seam line will be on the outside, stitch both long sides to the top piece in a 3/4 inch seam allowance. Clip the seam in 1/4 inch increments being careful not to cut into your seam line.
Repeat for the two short side pieces.
Finally, stitch all around the bottom edge in a 3/4 inch seam allowance, clip this bottom seam for fringe and you are done.
Bette Shaw
http://www.bettestomorrowstreasures.com
Copyright 2013
Monday, July 15, 2013
Jacquie's Up-Cycle Nation: A Silver Lining
I can't resist old silver. Be it a silver plate tray, sterling flatware, or random serving pieces, the patina of vintage silver is enchanting. But what does one do with silver aside from sticking it in the drawer, dooming it to darkness? How can over-looked silver become a renewed treasure? These fabulous Etsy up-cyclers can help!
Leave A Message Designs made this beautiful message board using chalkboard paint. View more beautiful up-cycled items from Leave A Message Designs here.
Memory Art By Lisa took the silver lining chalkboard to a more romantic level with this trio. Browse her talents here.
Silver flatware is an easy find but repurposing the delicate art ware can be intimidating. These Etsy artists have the knack and are very affordable!
Sycamore Hill returns silver to heirloom status with personalized up-cycling. Be prepared to spend awhile in this Etsy store! Talk about unique gift giving!!
The Door Yard makes drool-worthy everyday helpers from old tableware.
The intricate elegance of silver patterns naturally lends itself to jewelry. Rings by Revisions are attractive in both style and price!
Need a gift for your eclectic friend? House of Phlegethon makes whimsical sculptures from cast off silverware
Whether you want an expert's input or help in up-cycling your silver, or love to buy the look from fellow artisans, these featured sellers are a great place to start!
LOVE & UP-CYCLE NATION!!
Jacquie Wheeler
Hand of Bela Peck
Sunday, July 14, 2013
Blog Party Sunday --- Show Us Your Handmades
Welcome to our Blog Party Sunday. We would love to have you show us what you are crafting.
You are allowed to add 3 links to your shops or your blog.
The rules are simple:
1. Follow our blog
2. Handmade items only.
3. You may list up to 3 items each week.
4. Family friendly items only.
The success of this link party depends on the participants so spread the word to your friends, visit the shops, post about it on your blog, in a forum or on your favorite social networking site, grab the button and put it on your blog or website.
Just click on the Add Your Link button below and add your items.
And if you would like to add a link to the party you can grab this button below.

You are allowed to add 3 links to your shops or your blog.
The rules are simple:
1. Follow our blog
2. Handmade items only.
3. You may list up to 3 items each week.
4. Family friendly items only.
The success of this link party depends on the participants so spread the word to your friends, visit the shops, post about it on your blog, in a forum or on your favorite social networking site, grab the button and put it on your blog or website.
Just click on the Add Your Link button below and add your items.
And if you would like to add a link to the party you can grab this button below.

Subscribe to:
Posts (Atom)