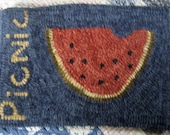
I've been looking for some "different" summer side dish recipes, and since I have a few saved to my favorites that I'd like to try, I thought I'd share them with you as well.
First up, is a Black Bean Salad, all the ingredients just sound so yummy and "summery". The recipe is from www.simplyrecipes.com
Next is a Cucumber Salad. I found this recipe at www.foodnetwork.com Yes, I'd like some more, PLEASE!
This one looks absolutely delicious. I think I'd eliminate the hot pepper... but that's just me. I found this recipe for Mexican Succotash at www.myrecipes.com
This last one is a Martha Stewart recipe and it sounds sooo good. I want this RIGHT NOW! You can find the recipe at www.yummly.com
Are you hungry yet? I am!
Thanks for joining us today!
Deena Davis
www.byyourhands.blogspot.com
Saturday, June 1, 2013
Summer Side Dish Recipes
Friday, May 31, 2013
Today's Featured Shop -- Susie B Designs
Today's featured shop is Susie B Designs. Susan designs unique pillows and quilts from beautiful fabrics. Here are some of my favorite items from her shop.
Christian Cross Quilt - Watercolor Art Quilt - Peacock Colors
Raspberry Pillows - Silk - Ruched Fabric
Rose Pillows - Gold Embroidery - Very Unique
Gold and Blue - Sunny Day Starry Night - Art Quilt - Van Gogh Inspired
Be sure and visit Susan's shop to see all she has to offer. https://www.etsy.com/shop/SusieBDesigns
Christian Cross Quilt - Watercolor Art Quilt - Peacock Colors
Raspberry Pillows - Silk - Ruched Fabric
Rose Pillows - Gold Embroidery - Very Unique
Gold and Blue - Sunny Day Starry Night - Art Quilt - Van Gogh Inspired
Be sure and visit Susan's shop to see all she has to offer. https://www.etsy.com/shop/SusieBDesigns
Thursday, May 30, 2013
Witches Stitches - Chalk Paint Decorating
I know this post has nothing to do with sewing, but I think it is
a great decorating tip. Next week I will be back to sewing.
I am in the middle of
getting ready to move. Moving is an opportunity to rearrange and redecorate. I don’t like the idea of all the packing, but
the thought of redoing some pieces of furniture to fit a new color scheme is
always fun. I am changing the color of my living room and my kitchen so I
thought this would be a great time to paint some furniture with chalk paint. I
went to a local antique store to see what
my color options were. They did not have the color I wanted and then I saw it…the
price!!! Wow it is expensive! Much more then I wanted spend. I thought I would
just use other paint, but then again, regular paint does not have that great
look that chalk paint has. I decided to look around on line to see if I could
find a less expensive solution. I found
a way to make my own chalk paint that is easy to do and gives me the same look
as the ready made kind. It also is very easy to distress. So here is how to
make it and how to use it. Enjoy!!! Mix the following to make your own chalk paint:
2 Cups Latex Paint
5 TBSP Plaster of
Paris
3 TBSP Cool Water
1 - Mix the Plaster
of Paris and cool water together in a separate bowl. (make sure the water
is cool)2 – Mix until the plaster is smooth with no lumps, kind of like pancake batter. (not like my pancake batter, mine always have lumps)
3 - Add the plaster mixture to the paint and mix.
4 - When the chalk paint dries you will begin to see a chalky look .
5 – You can add more plaster if you want a more chalky
look. It is all up to you.
6 – After your item dries you can distress it by sanding
the edges . If you want a more distressed look, paint your item black. When the
black chalk paint dries paint over it with the color of your choice. Before you
paint the second top color use petroleum jelly on spots where you don’t want
the top coat to stick. After the top coat dries wipe the piece down and the
spots where you put the petroleum jelly will wipe right off. Go over with sand
paper if you want. It gives a piece a deeply distressed look. When your piece is dry you can give the piece
an even older look by going over the entire piece with a paste wax. You can get
a wax that has a tint or you can add stain to it for an even darker look.
I hope this helps anyone who wants to get a great chalk
paint look without the big price tag.
Enjoy,
Faith
Wednesday, May 29, 2013
Tutorial - Making Raspberry Jelly
Please welcome Colleen Bass of Needles-n-Pins Stitcheries as she walks us through the process of making homemade raspberry jelly.
JAR PREPARATIONS:
You need to sterilize your canning jars, rings and lids. I reuse my canning jars and rings every year, but NEVER reuse the lids. Always buy new lids. I sterilize them and leave them in the water while I am cooking the jelly.
INGREDIENTS:
Fresh
wild raspberries (takes about a 1 gallon freezer bag of berries for 4 cups of
juice)
SugarPectin packets (from the grocery store)
Lemon juice
You
only need the juice from the raspberries so you get this by putting the cold
berries in a cheese cloth or berry bags and squeezing the juice into a bowl.
Place
2 small plates in the freezer for testing the jelly later. After you get all
the juice out of the berries discard the squeezed berries. Pour 2 cups of berry
juice in a stainless steel pan. The stainless steel works the best. Bring this
juice to a boil. Then add 2 cups of sugar and dissolve. Add 3 teaspoons of
lemon juice and ½ a packet of pectin. This is what you start with….after
testing the jelly you may have to add more lemon juice or sugar.
Cook
3-4 minutes while boiling. Now you need to be careful with this step as the
jelly juice in the pan when boiling will rise to the top of the pan, so to
prevent overflowing I always lift the pan off the heat until it goes back down.
After about 3 minutes or so, take the little plate out of the freezer and spoon
a tablespoon or so on the plate to test if the jelly will jell ok. After you
put the jelly on the plate wait a few moments and then tip the plate and see
how the jelly runs down the plate. If it is slow and creeping and seems to be
jelling then the jelly is ok….if not and it runs fast you will need to put a
little more ingredients in. I start with about ¼ cup of sugar and another
teaspoon of lemon juice. After letting it boil a little I test again. You
shouldn’t have to add too much to the original ingredients. Just depends on the
quality of the berries that year. Once and awhile I have to add a little more
pectin if the berries aren’t as high quality that year. You will learn what is
best for that year.
When
the jelly is jelling ok you then take the jars out of the water and ladle the
cooked jelly into them. Leave the lids off for several hours for the jelly to
“set-up”. When the jelly has set you can put the lids on and tighten them up
and put them in storage. Whalla…..you have just made jelly.
Sounds
pretty easy huh? Well, let me tell you we had quite a learning curve when we
first started doing this several years ago. This first year the jelly wouldn’t
jell and we kept adding stuff to it and I think we had more sugar than jelly in
them. Also after letting it sit for hours to jell in the jars some of the
batches didn’t set very good so we had to pour them back into the pan
and add a little more “stuff” to them. The jelly actually tasted pretty good. So it takes practice. This year the berries were great and I think we have the best jelly we ever have had.
So all of you berry pickers out there…..now you can make jelly! Thanks for joining me in my jelly making process. Hope you enjoyed it.
Colleen
Needles-n-Pins Stitcheries
Tuesday, May 28, 2013
Handmade Spotlight - Primitive Summertime
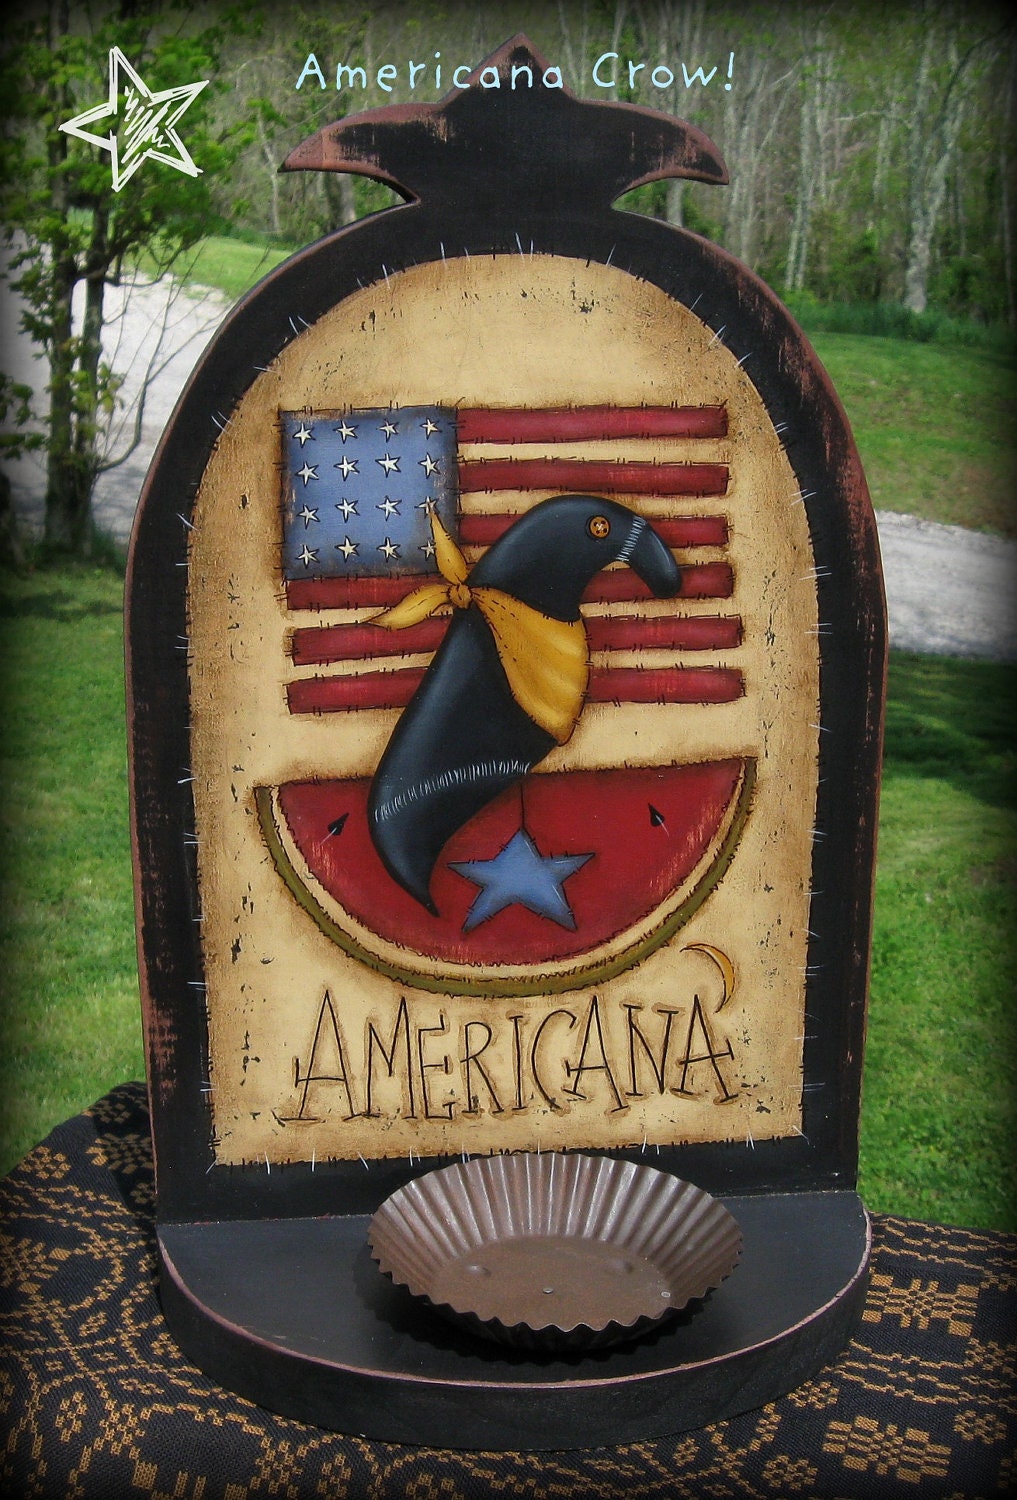
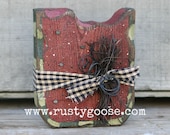
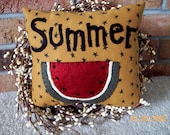
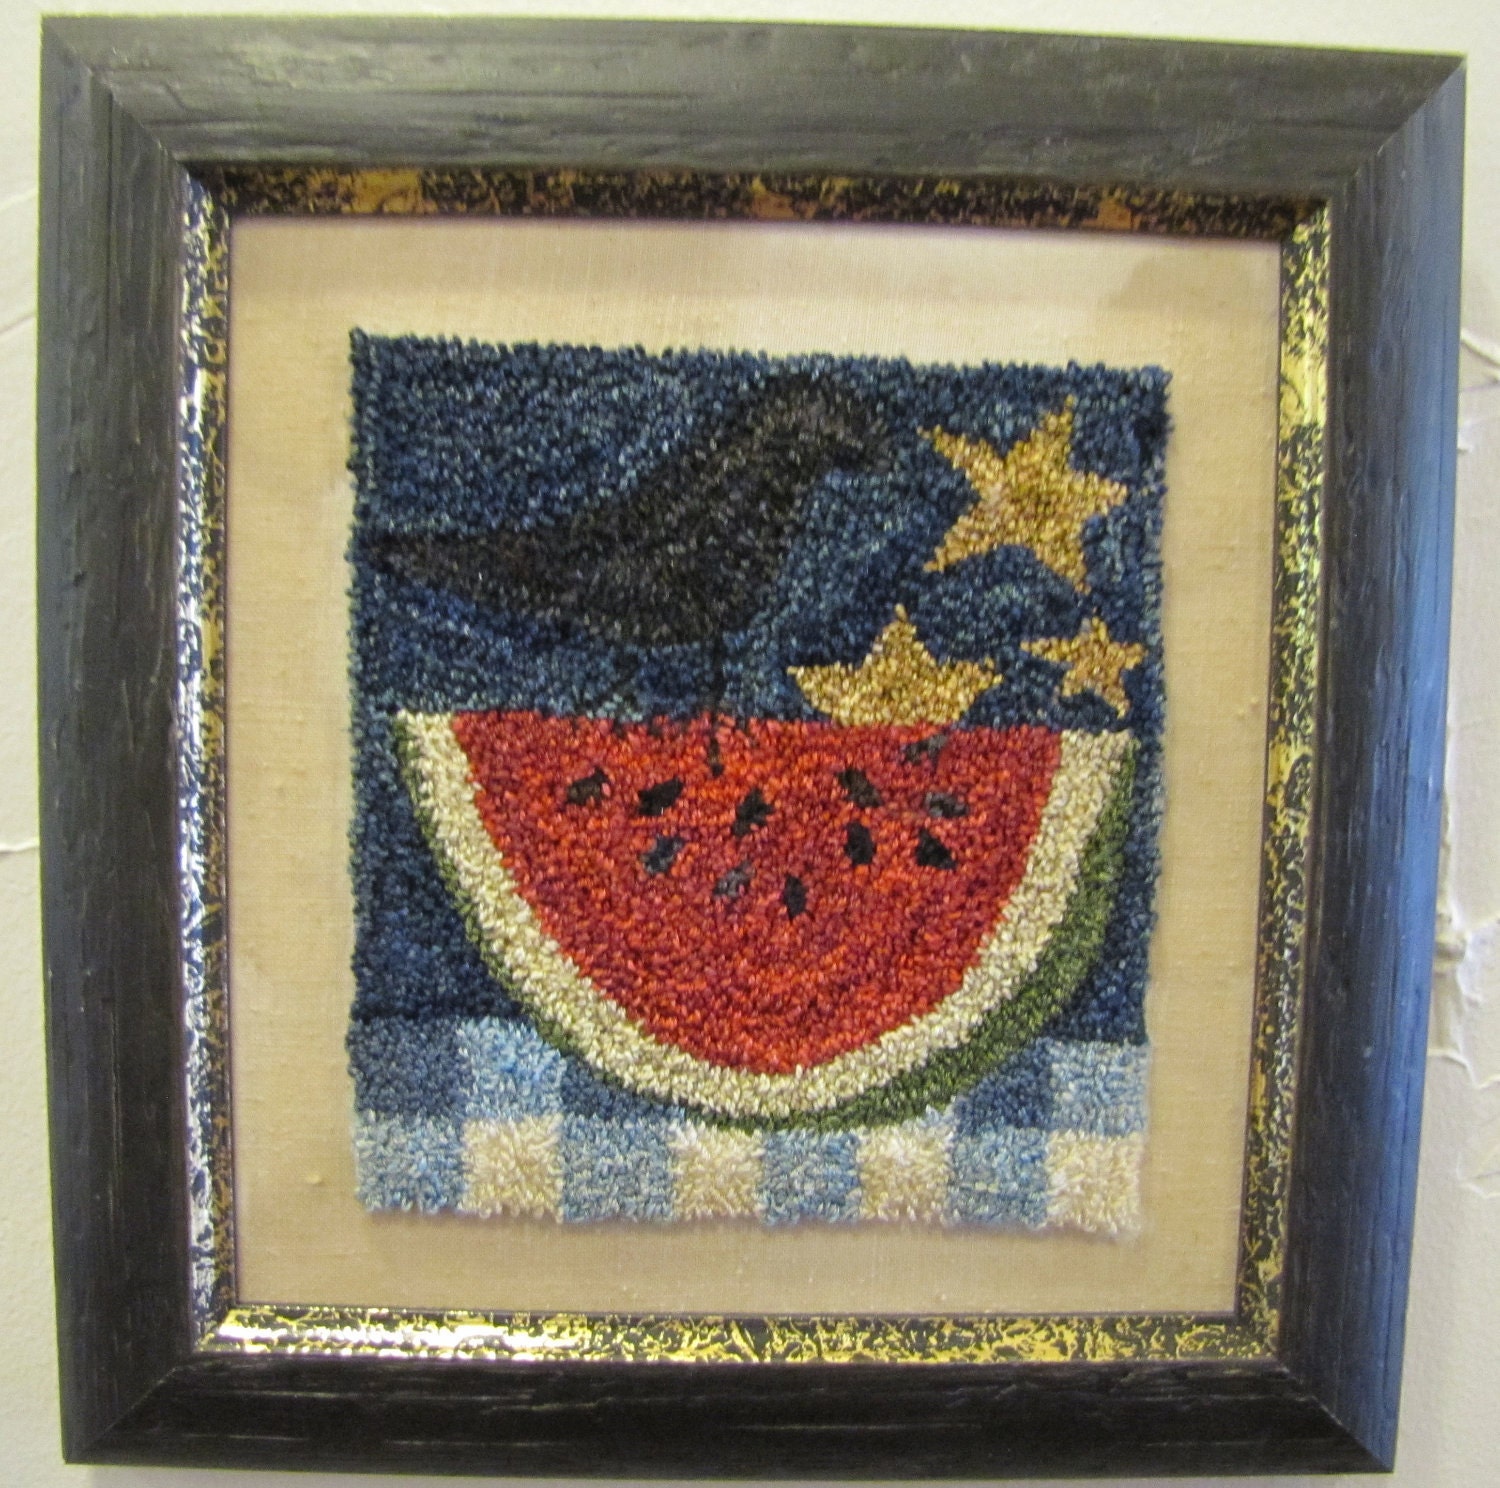
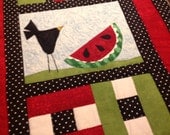
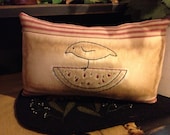
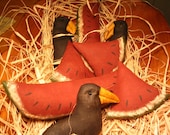
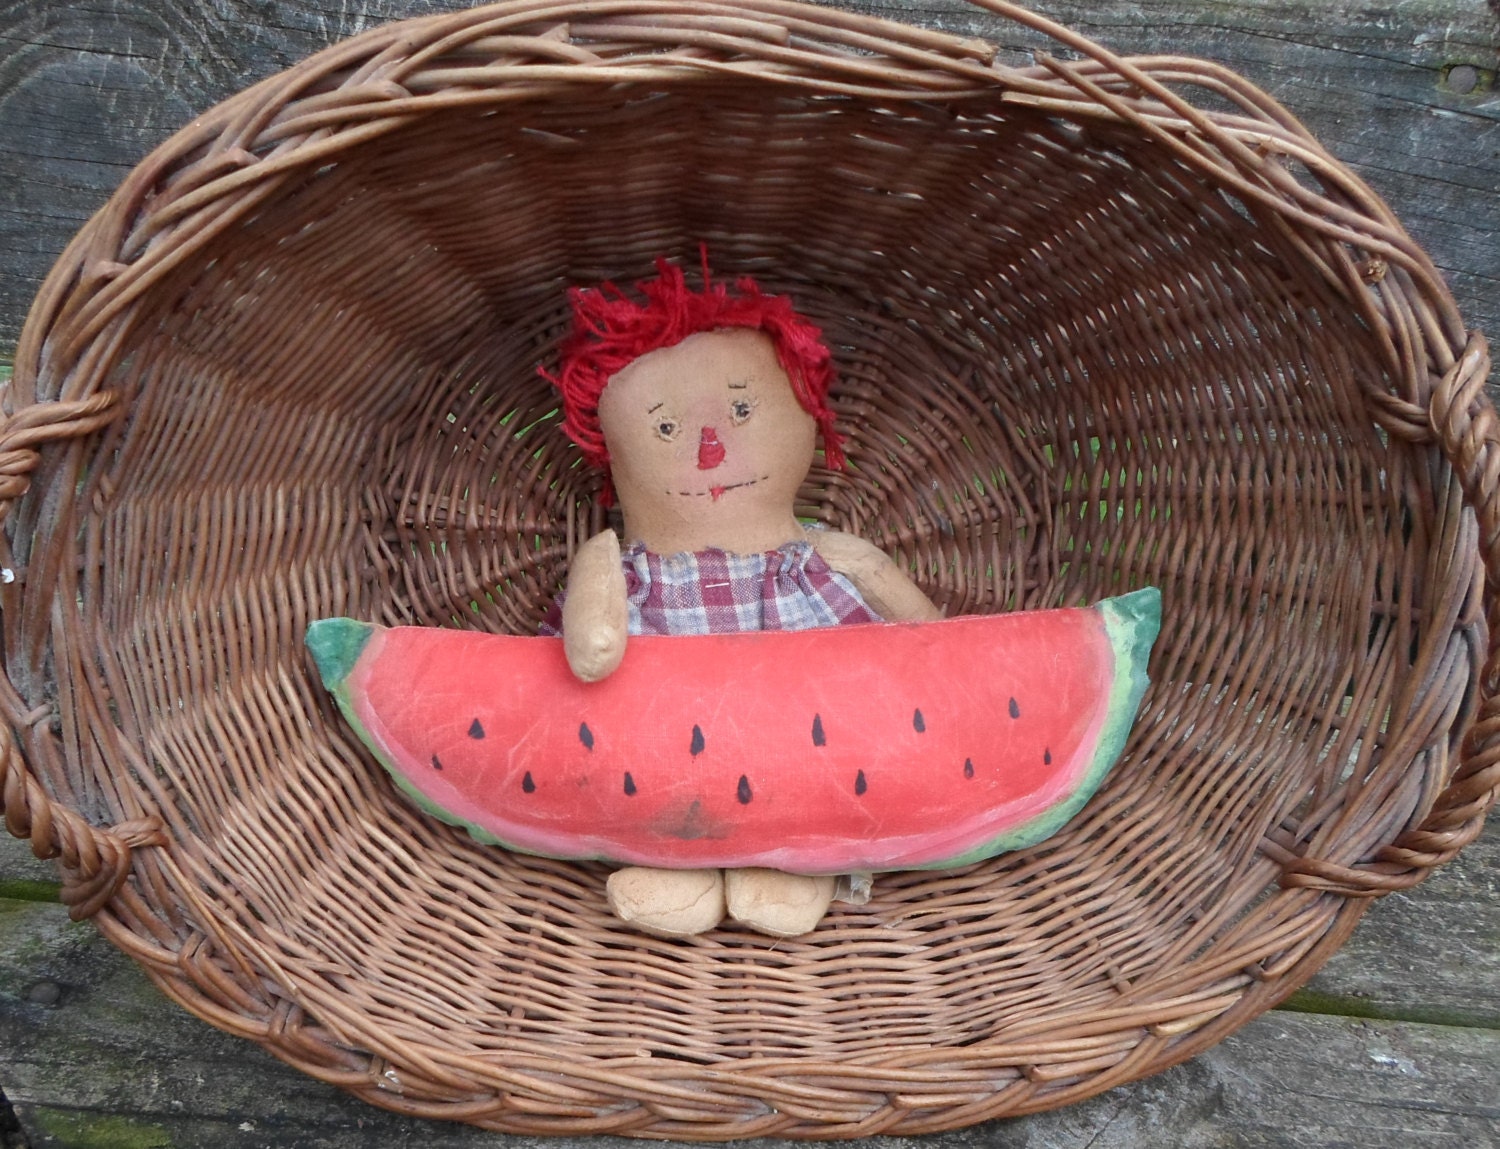
Check out this great selection of Summer Primitives. You can view this entire treasury by Clicking Here, or you can click on each item to see it in greater detail.
| |
| |
| |
| |
| |
| |
| |
Generated using Treasury HTML code generator by Whale Shark Websites.
Labels:
handmade,
handmadespotlight,
primitives,
Spotlight,
summer
Subscribe to:
Posts (Atom)