Today's featured shop is the Snowman Collector. Snowman aren't only for Christmas. There are a lot of snowmen collectors out there and Sheila specializes in making snowmen all year round.
Snowmen Bloom in Winter Centerpiece
Large Snowman Will Work For Snow
Cheerful Snowman Spring Nodder
Merry Christmas Little Fabric Snowman
Be sure and visit Sheila's shop to see all she has to offer. https://www.etsy.com/shop/SnowmanCollector
Friday, October 25, 2013
Today's Featured Shop -- Snowman Collector
Thursday, October 24, 2013
Witch’s Stitches – Making a “kind of” Feather Tree
I love feather trees. I have one I put up every year that
stands 6 feet tall. My kids call it the Christmas stick. The nice thing about a
real feather tree is the branches are far apart and you can see your ornaments
very well. To me a feather tree says years gone by and the look fits into my
prim living room. When I make my snowmen and Santas I like to give them a
little feather tree to hold. Making a
real one can be very time consuming. So here is a little “kind of” feather tree
to make that is so quick and easy. You can make them to have your dolls hold or
make a bunch of them and put them in a stand and have a shelf or mantel
display.
Step 1 – You will need to choose a center stick for your tree. I just cut a twig the size I want my tree to be. You will also need the branches part. For this is use Home for the Holidays Pine Stems. I got them on ebay from the seller 1804 primitives. I am sure you can get them at your local craft shop too. These have a wire running through them and will bend a keep whatever shape you want and you can cut them with just scissors.
Step 2 – Starting from the bottom of the twig, wrap your
branch once around the center twig. Make sure you put a dab of glue on the twig
and then wrap so it will stay in place. I use Aleene’s tacky glue in the gold
bottle. The bottom branch will be the
longest. S you go up the tree and add branches they will be smaller and
smaller, the smallest being right at the top. Snip your branch so they are
even. Let the glue dry.
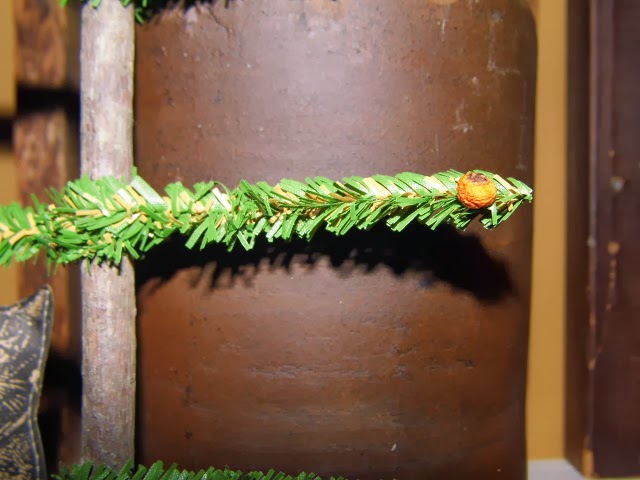
Step 3 – Now you are ready to embellish your tree if you
want. You can glue a little red berry at the end if you want or you can put
rusty stars or bells on the ends of the branches. You can also tie a tiny piece
of homespun or cheese cloth at the very end of the branch. The little berries I used I got from my yard
and I dried them. It is all up to you what you choose.
Step 4 – Now your tree is done. You can place it in the arms
of a doll or you can put it in some kind of base, again it is what you want it
to look like. They look great with an old wooden spool as a base. Just stick
the twig into the hole in the spool and instant base. Wrap a little fabric
around the spool and it looks even better. I would show you a picture of this
but I have no idea what I did with my wooden spools. Sorry.
It is really that easy. The longest part is letting the glue
dry. The rest takes only a few minutes.
If you have any questions please give me a shout. Enjoy,
Faith
Wednesday, October 23, 2013
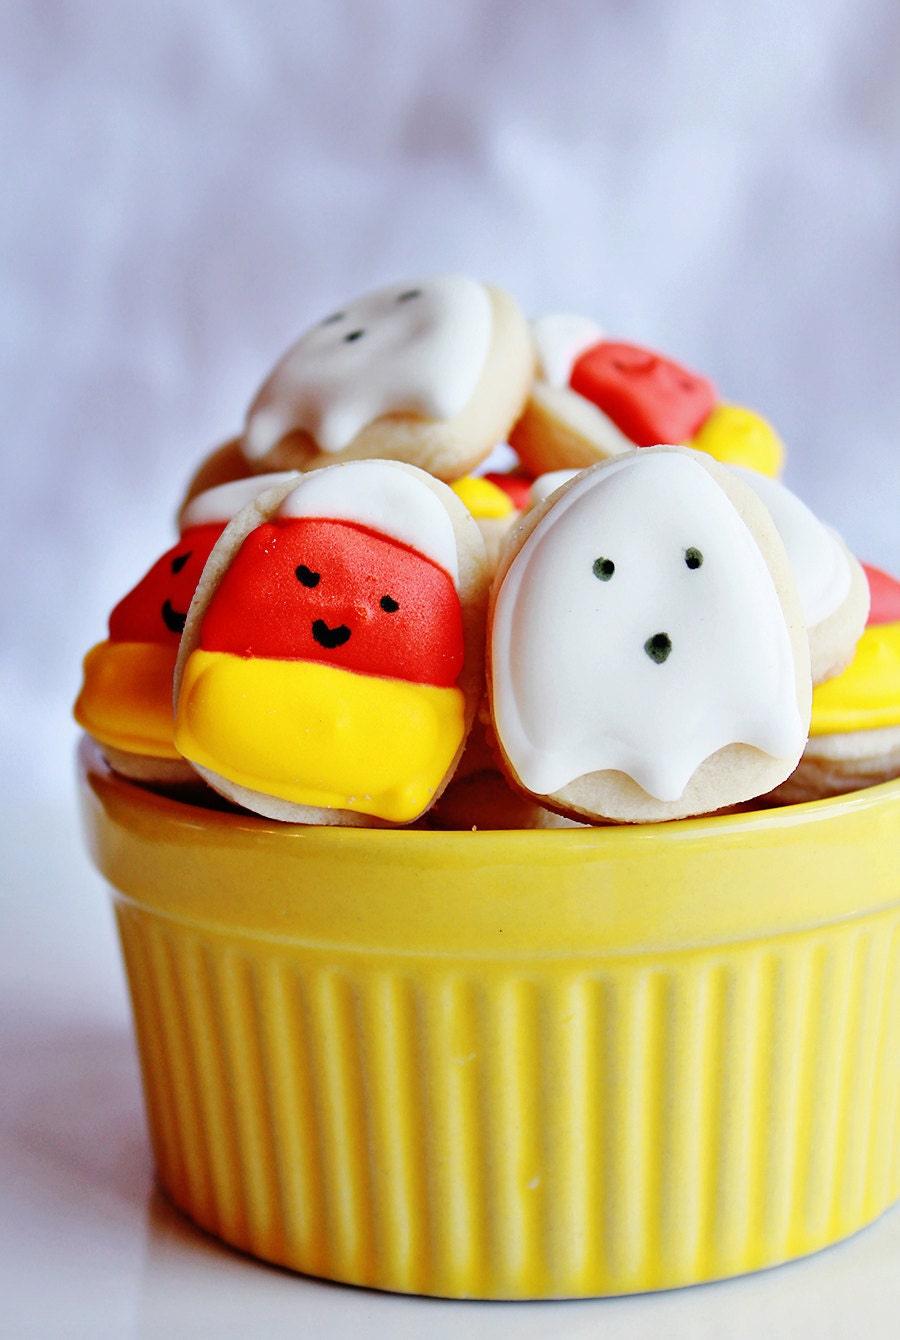
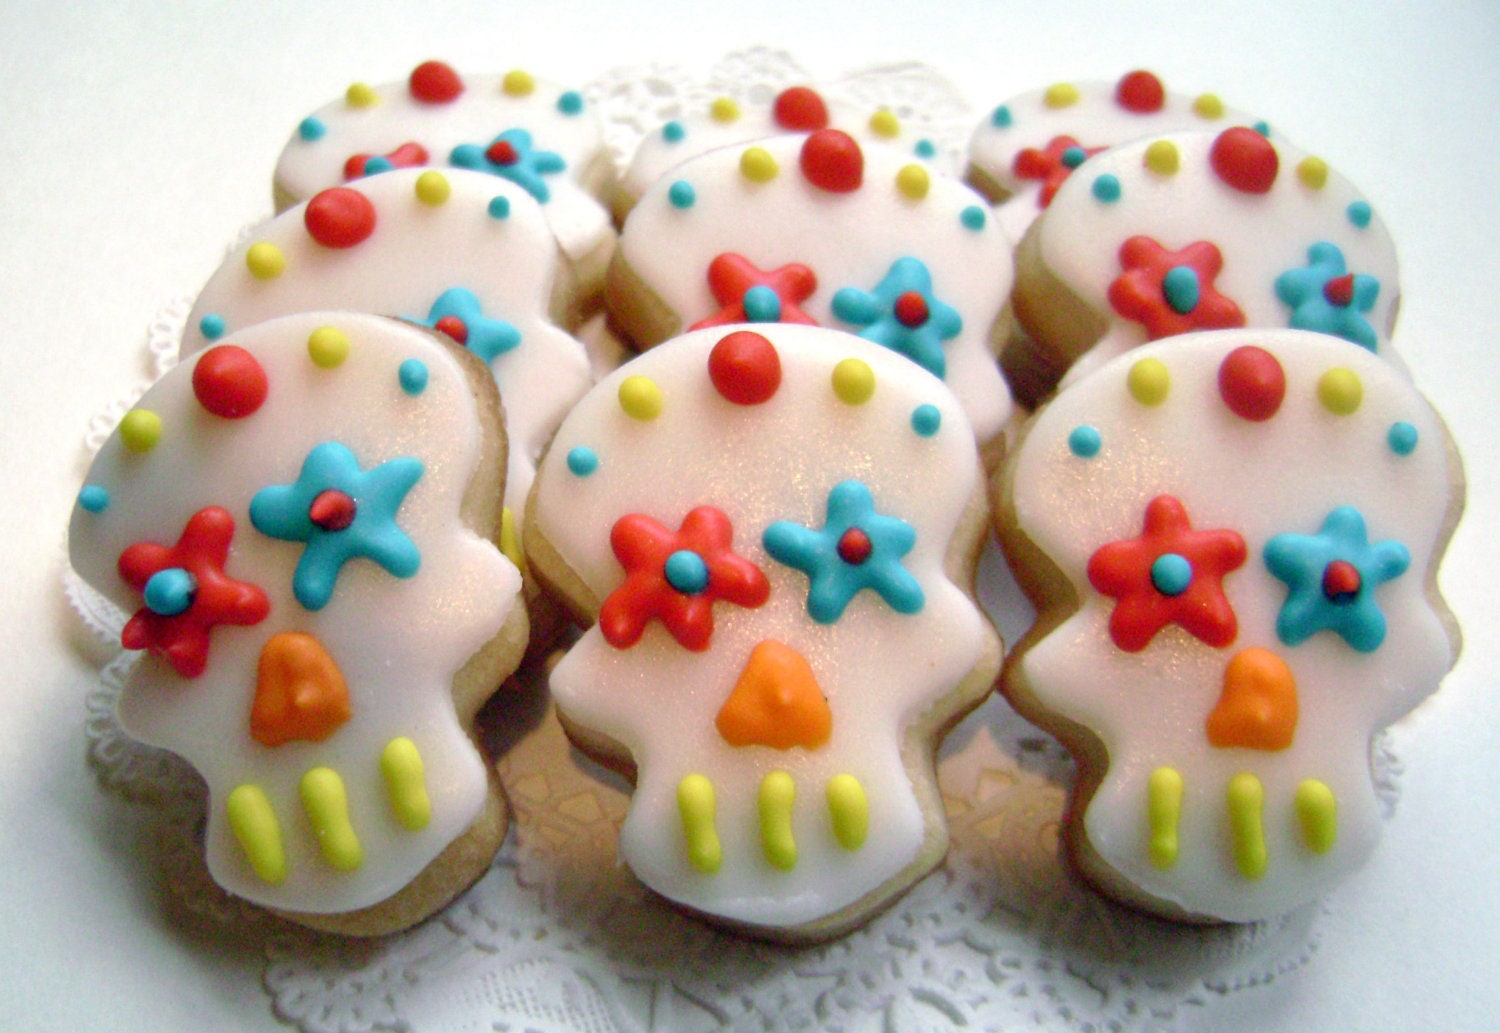
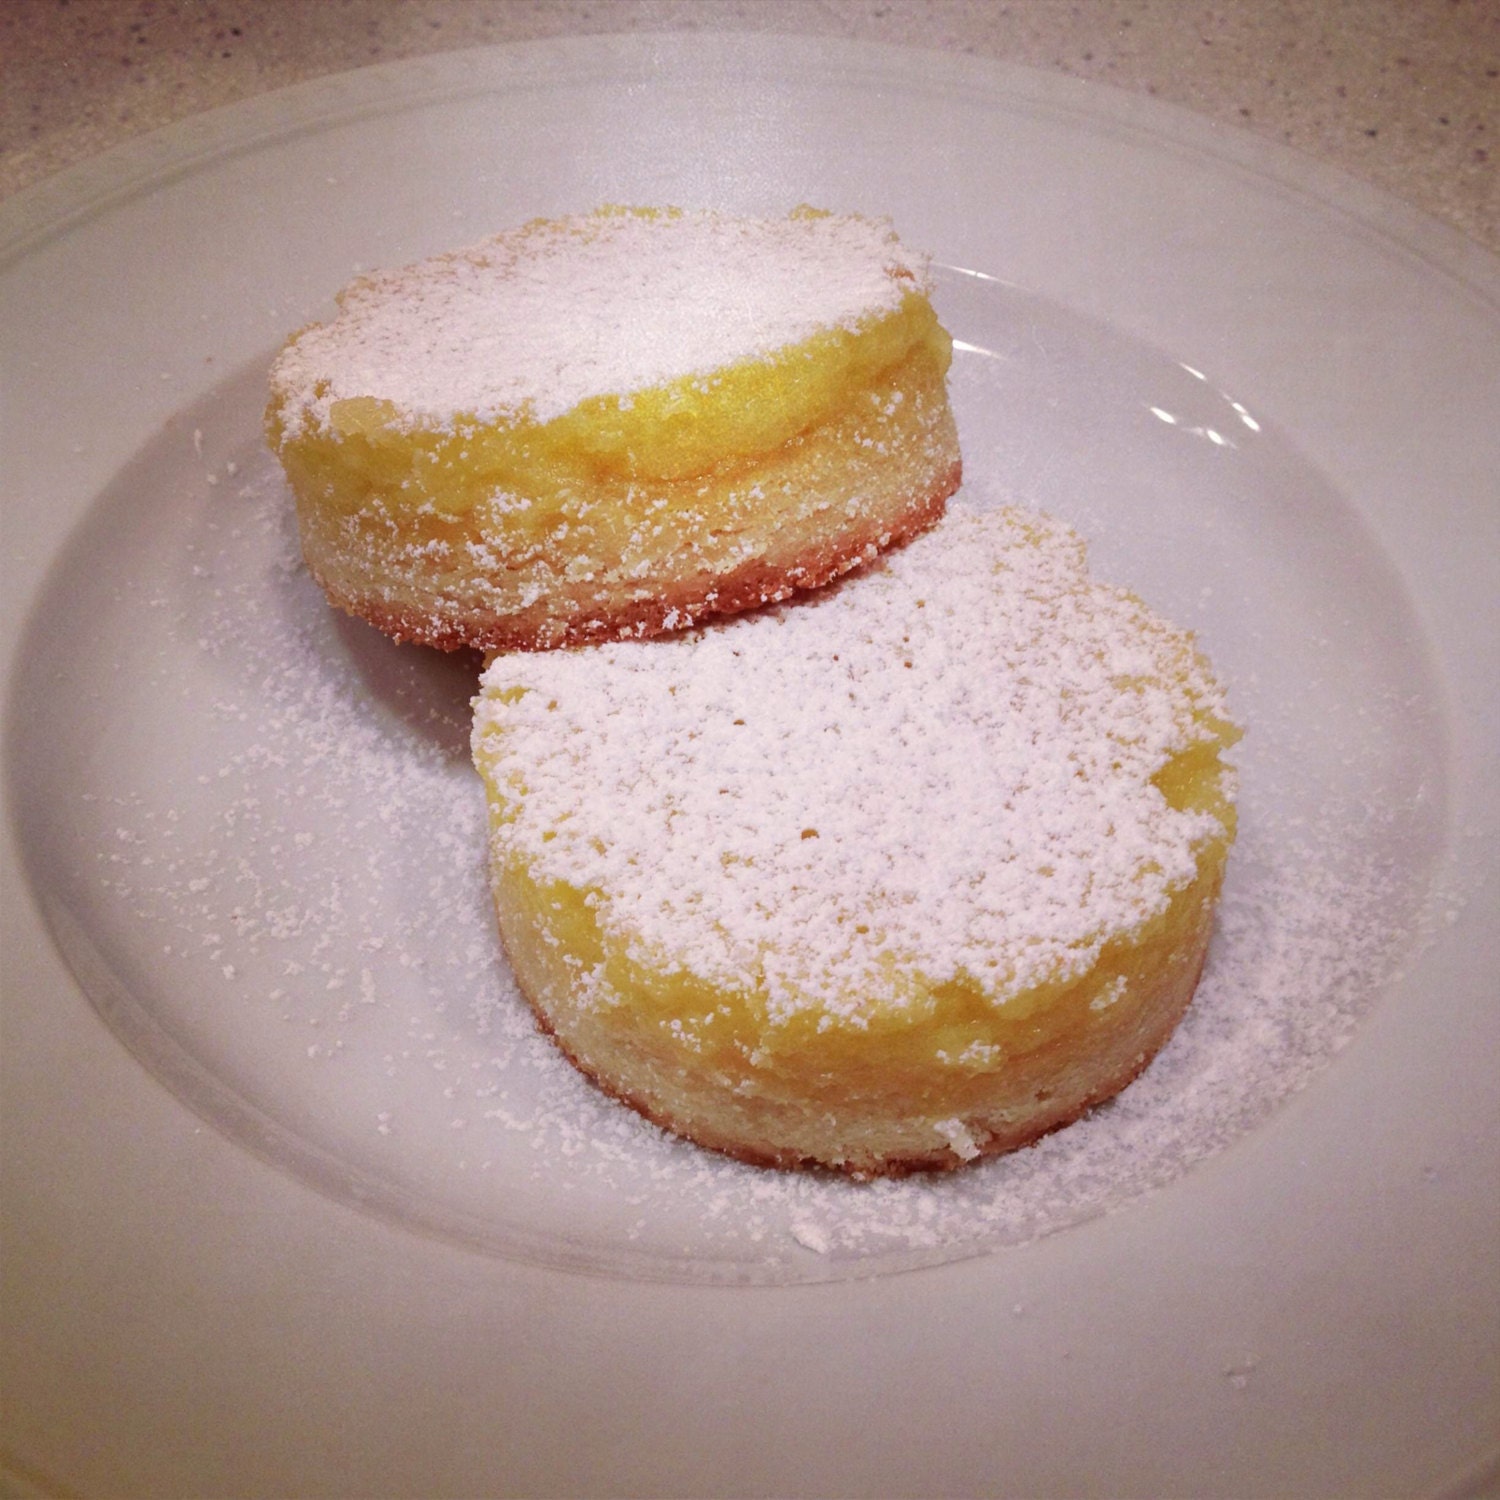
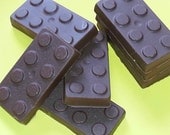
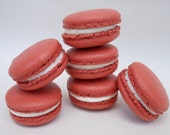
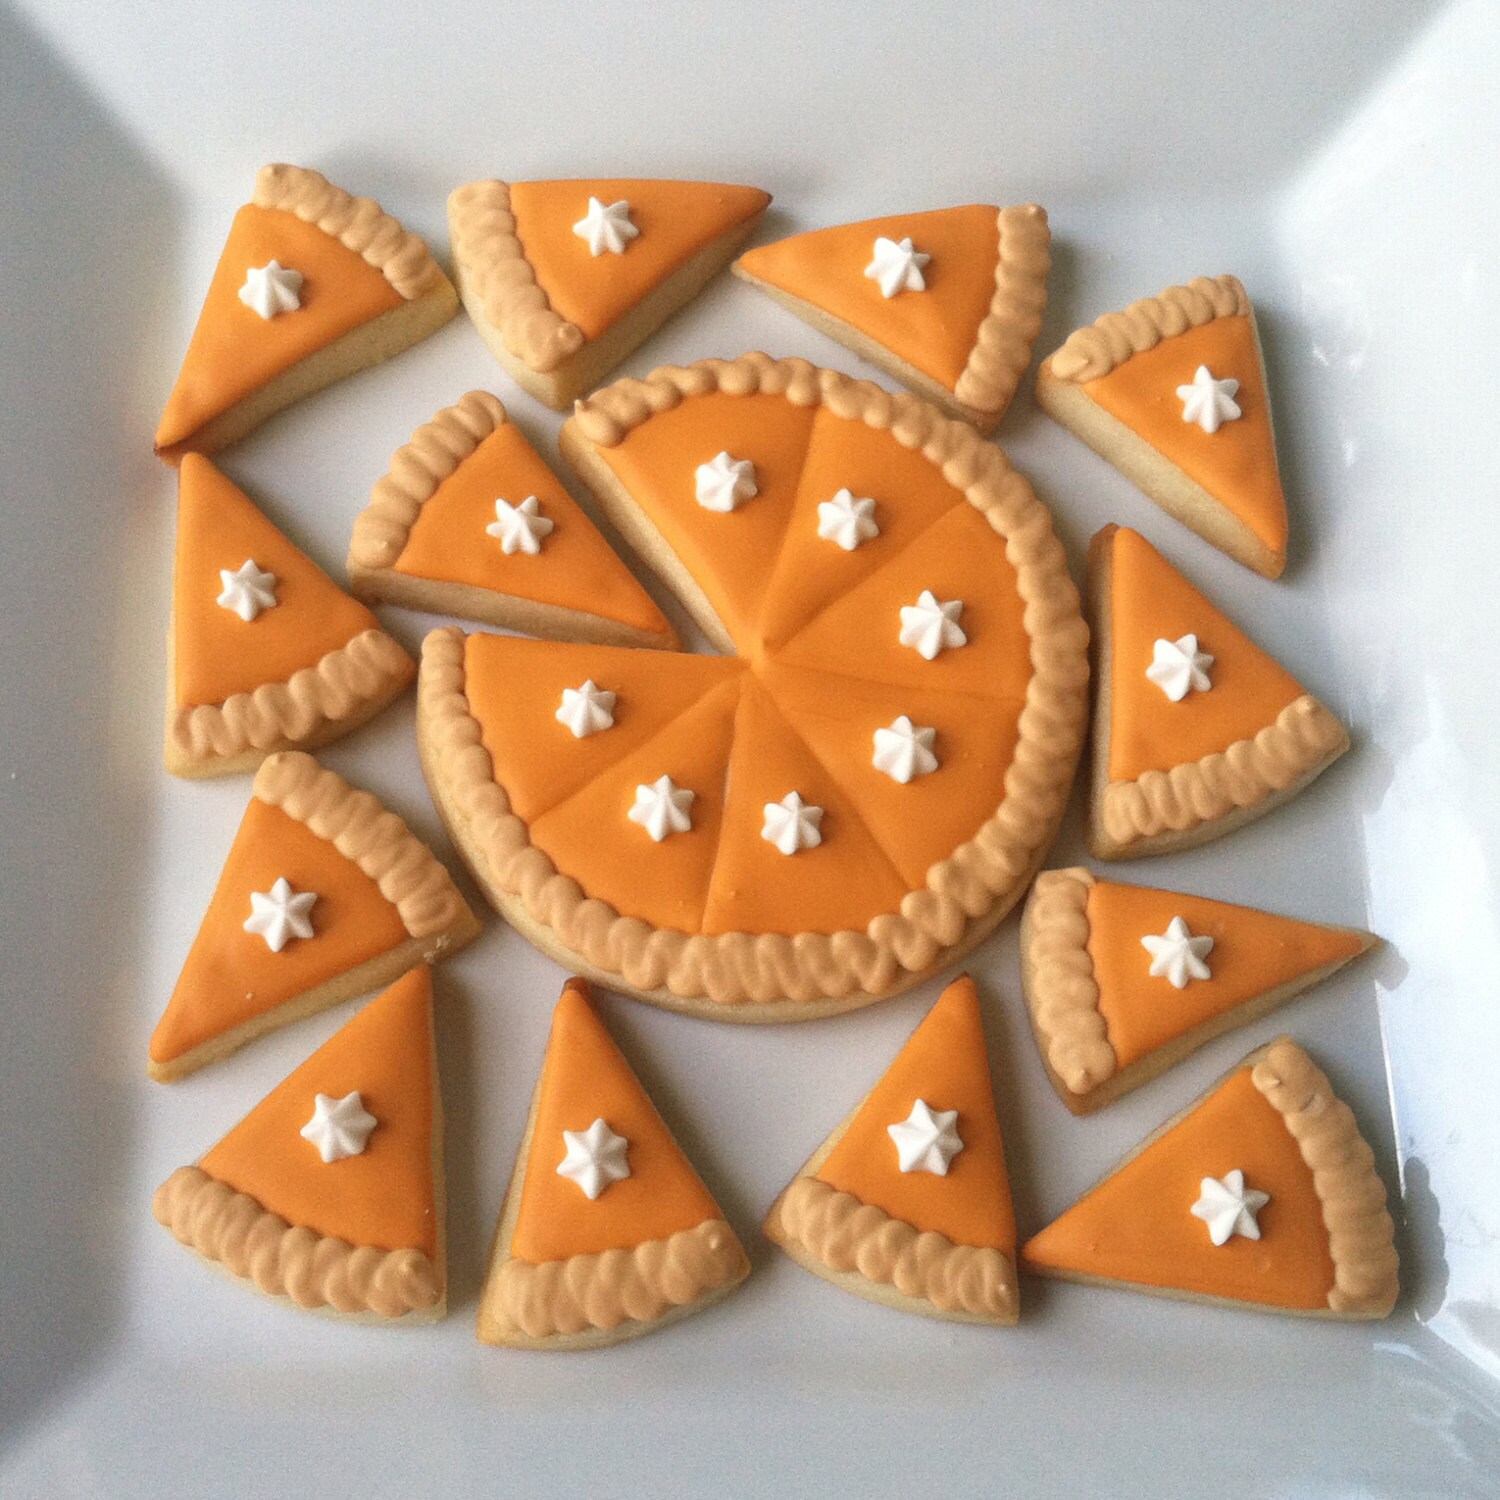
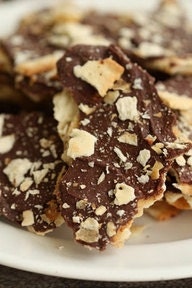
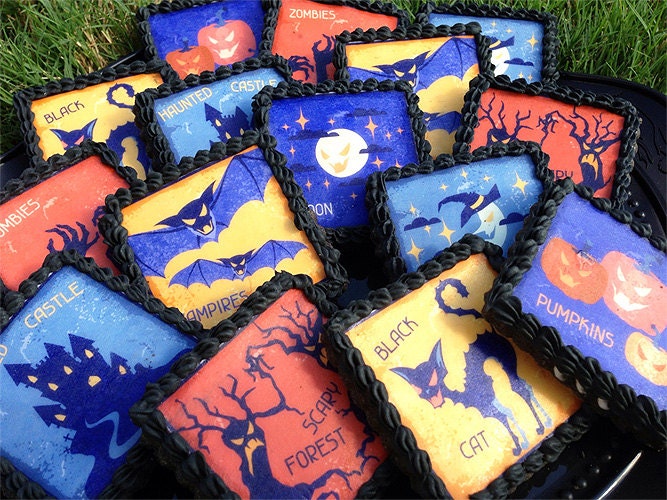
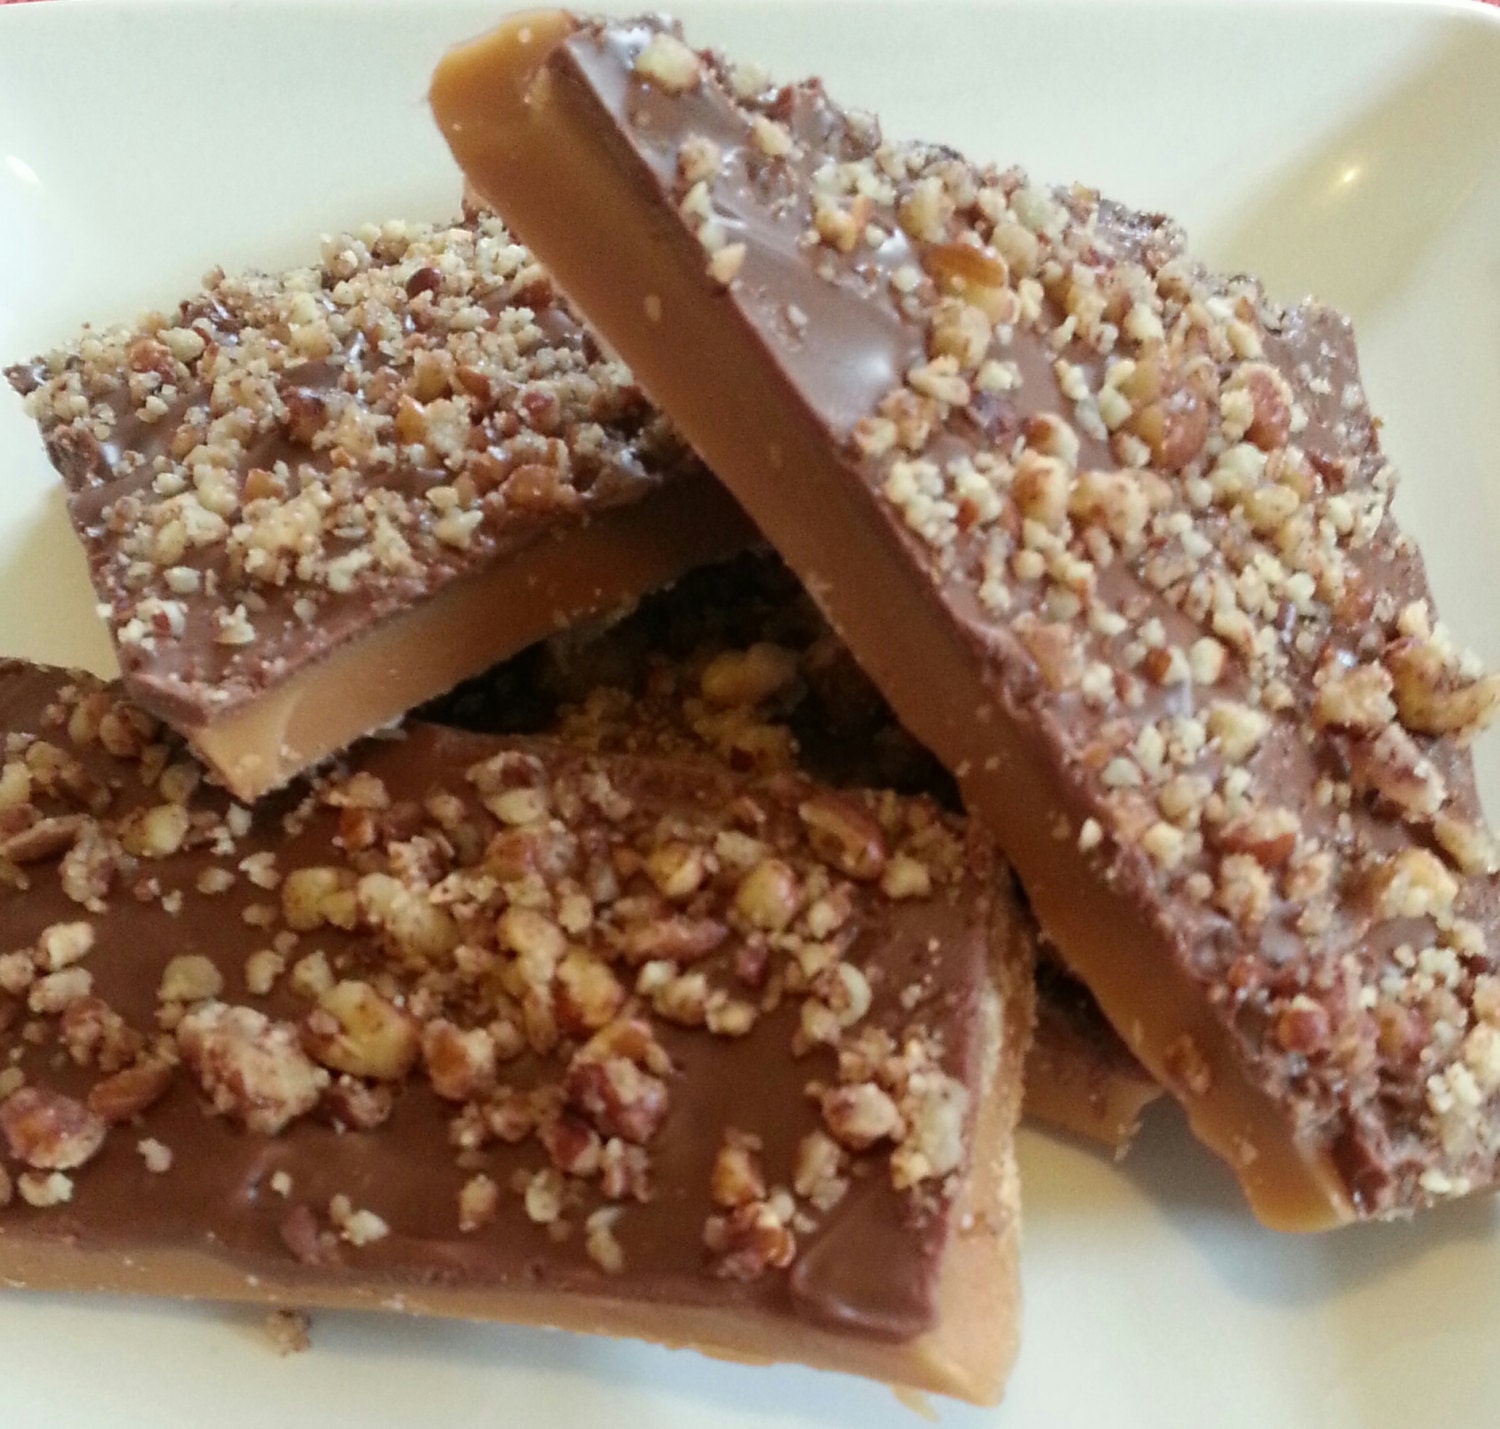
Handmade Spotlight - Homemade Treats
Who wouldn't love to get these treats on Halloween?
Sponsored by send bulk email from excel.
Tuesday, October 22, 2013
Paper Purse Craft Tutorial
I absolutely love this paper crafting tutorial for Living Locurto. I'm thinking it would be really cute done with Halloween themed paper and embellishments. Enjoy!
Deena Davis
www.byyourhands.com
Monday, October 21, 2013
Jacquie's Up-Cycle Nation: Vintage Inspiration Board
Like most artists, I am constantly collecting tidbits of intrigue. A small scrap of antique lace, a pretty postcard, random bits of nature- all necessary to the creative process. To maximize their inspiration potential, these tidbits need a proper idea board. My favorite idea boards begin with an up-cycled vintage frame and left over supplies lurking in the garage.
I purchased this vintage mirror frame for $5 at an estate sale but any large frame will do.
The supply list:
Spare paint (preferably paint with primer)
Sand paper
Paint brush
Wood Craft Glue
Cork Roll
Cardboard
Initially I was going to paint the frame white, but after sanding and cleaning the frame a beautiful vintage oak patina begged to prevail.
With scissors, or exacto knife, cut cardboard to fit frame opening.
Cut cork same size as cardboard.
Flatten cork board and apply a thick coat of paint.
I started with a paint brush but soon gave it up for a paint roller. Cork board is porous and the brush was taking forever to give a good coat.
Allow painted cork board to dry thoroughly.
Once the painted corkboard is dry it is ready to be glued to the cardboard.
I recommend using Elmers wood craft glue for this project. Drop large dots of glue on cardboard back. Spread glue evenly in a thin coat to cover the entire surface. Adhere corkboard.
To ensure a strong, flat bond, place newly glued cardboard and corkboard on a flat surface. Cover cork side with freezer paper and place magazines or books on top for weight. Let sit for at least 4 hours.
Insert dry corkboard in frame. Secure with small tacks, or frame backing, and begin pinning up inspiration!
I just love a blank slate. White space never lasts long in my studio!
Random bits of inspiration now have a home in plain sight where they can be accessed with ease and not get lost in the studio shuffle.
LOVE & UPCYCLE NATION!
Jacquie Wheeler
Hand of Bela Peck
Labels:
budget decorating,
by your hands,
inspiration board,
trash to treasure,
up-cycle,
up-cycle nation,
vintage re-do
Subscribe to:
Posts (Atom)