Thursday, September 12, 2013

Witches Stitches -Fabric Christmas Sheep


The holidays are right around the corner and one of the things I enjoy decorating with is anything that looks antique.  I like the prints that are out there that are from the late 1800’s. I especially like sheep.  You can use any animal or item you like, I just like using an image of sheep. I have several small feather trees that I like to put in a display and I like having a few sheep with them. The ones I made are very easy and look like they are 100 years old.
All you have to do is print a few images of sheep onto cotton fabric. The process is very easy. Cut a piece of fabric and a piece of freezer paper the same size as a standard piece of printer paper. Then iron the freezer paper onto the fabric. Now you can feed this through the printer and print whatever you choose onto your fabric. I choose some antique images of sheep. I made the images different sizes and then printed them onto my fabric. After I have done this I peel the freezer paper off the back of my sheep images. I then sew around the image with a backing piece of the same fabric, leaving the bottom open.  I cut around the image. I can now stuff the piece with sawdust. After I do this I sew the bottom together and then use a box pleat to make it stand up. I now have a fabric sheep that looks great with my antique holiday display. You can make these sheep any size up to 8” x 11”. I make 3, making one larger than the rest. This then looks like a sheep and 2 lambs.  As I said you can use any image you want. By stuffing it with sawdust, gives it an antique feel and makes it weighted enough to stand on its own.
As always if you have any questions please give me a shout. Have a great day.

Faith

Wednesday, September 11, 2013

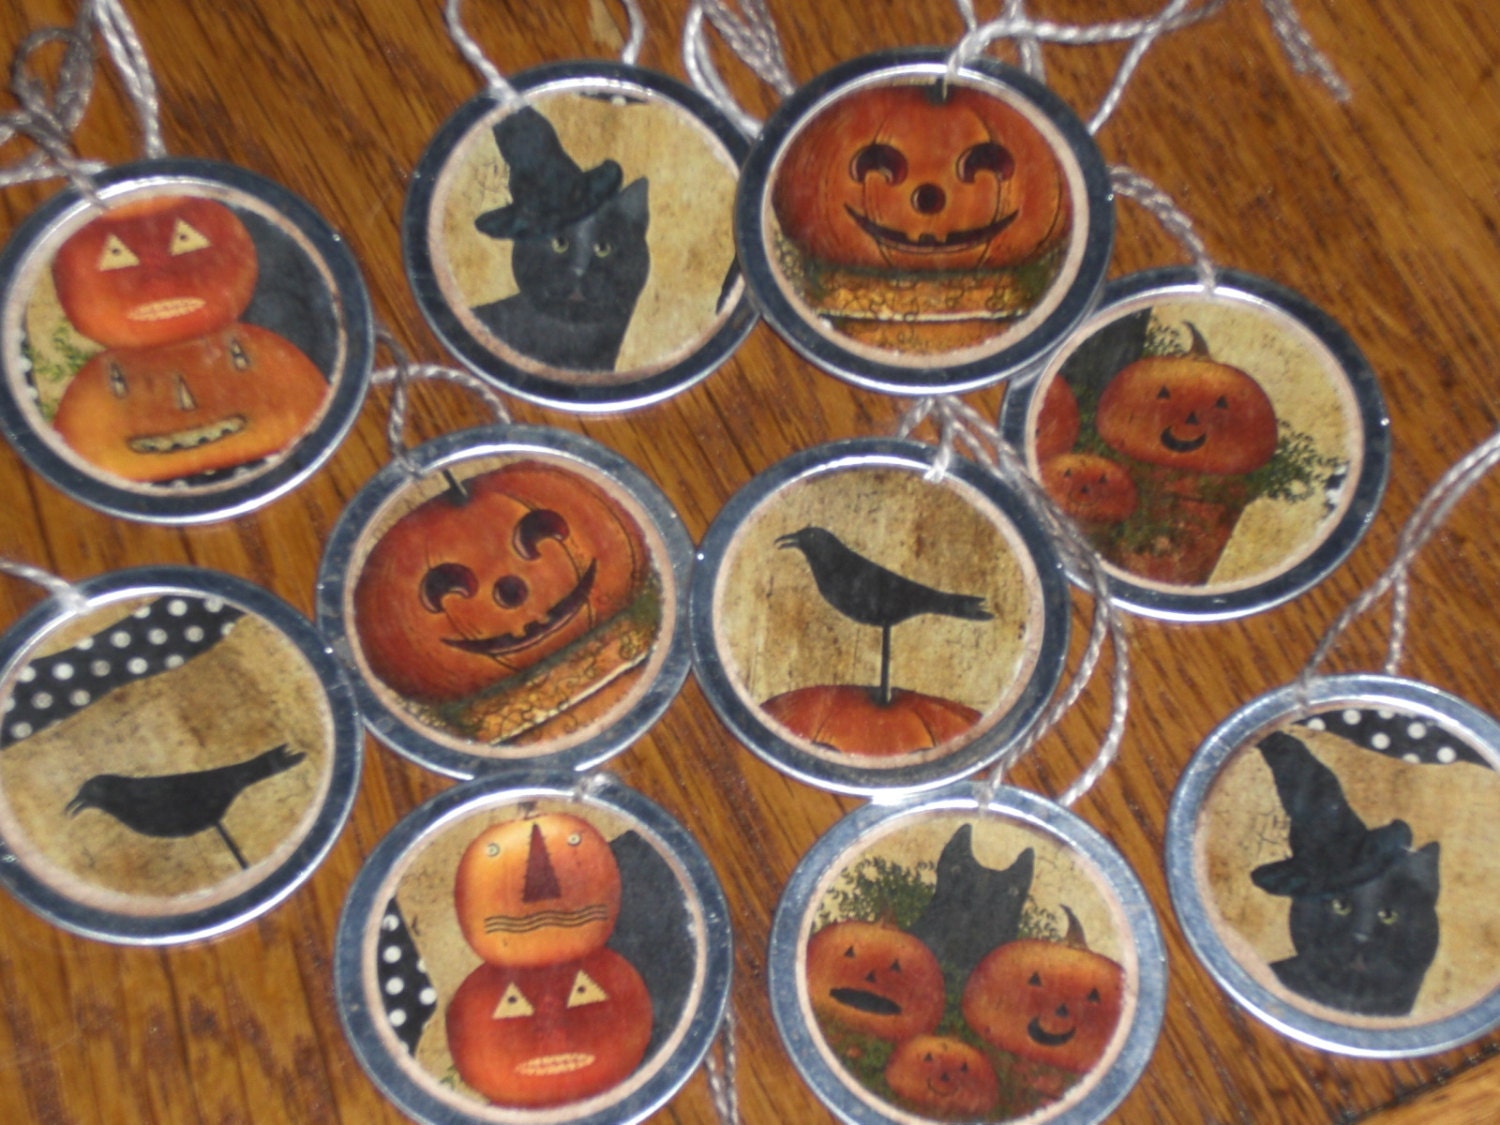
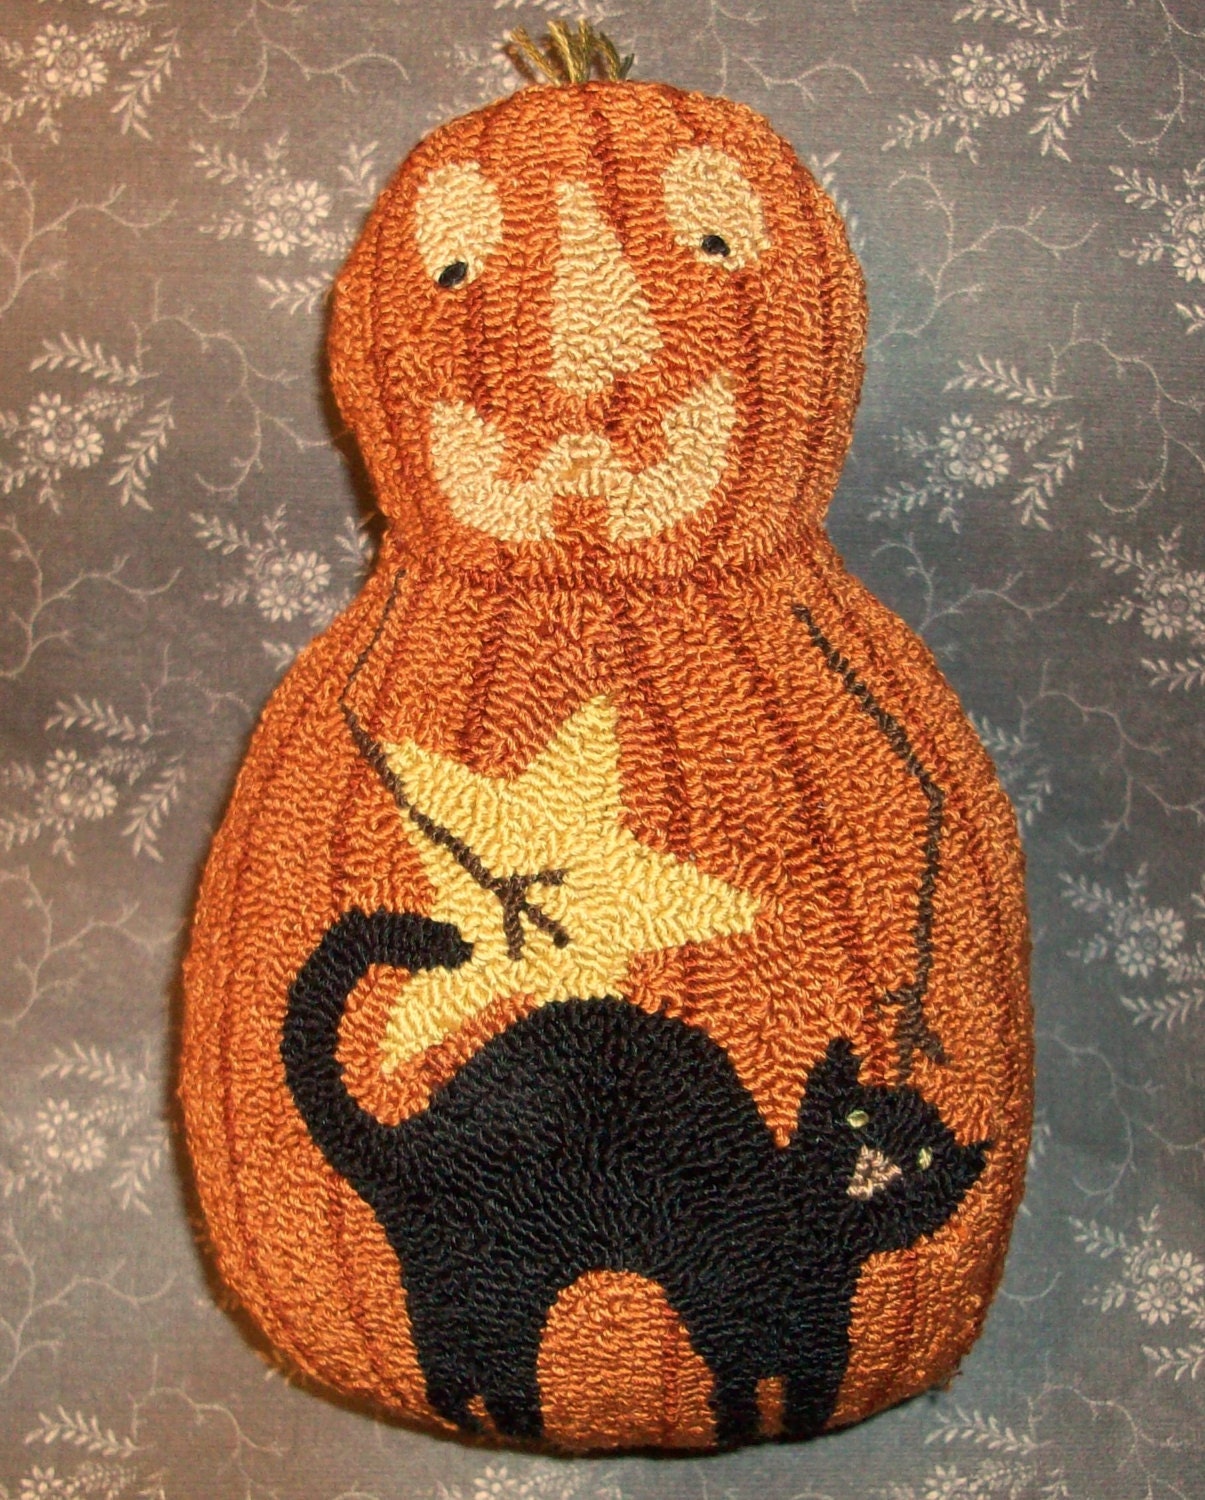
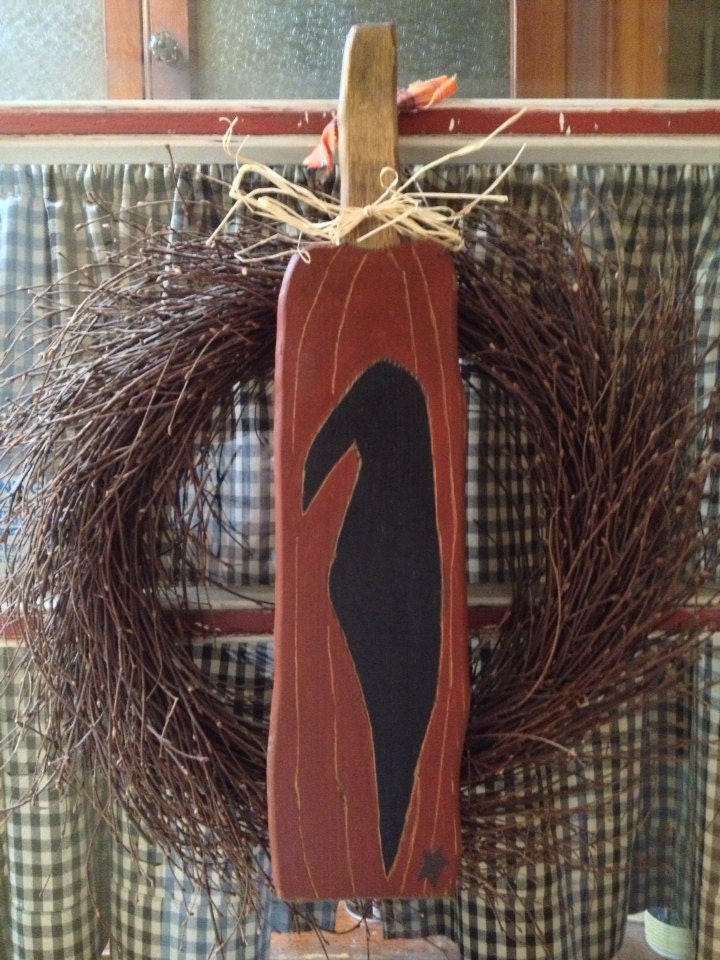
Handmade Spotlight - Pumpkins!

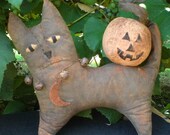
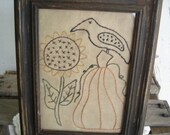
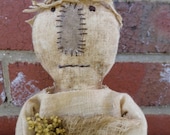
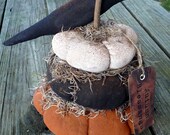
Check out this great selection of handmade cats. You can view this entire treasury 
by Clicking Here, or you can click on each item to see it in greater detail.


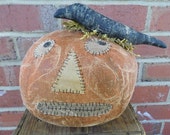
Primitive Crow and Pumpkin D...
PrimitiveBlack...


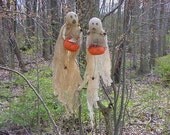
Primitive Ghost Door Doll wi...
angelbugprims


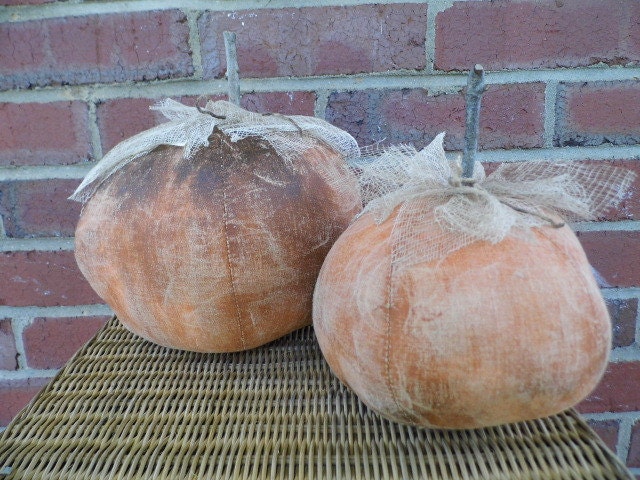
Set of 2 Primitive Cloth Pum...
PrimitiveBlack...


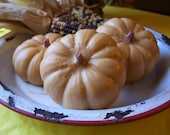
Pumpkin Soap "Pumpkin S...
DaisyKays


10 Primitive Metal Rimmed Ha...
ChooseMoose


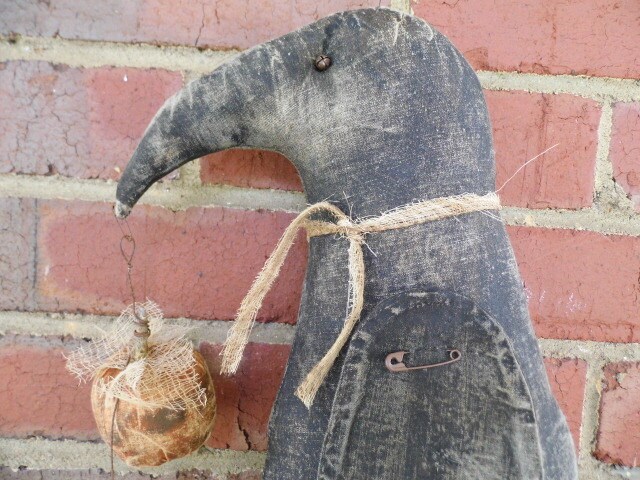
Large Primitive Crow with 3 ...
PrimitiveBlack...


Hand Painted Primitive-Folk ...
JennysToleShed


Extreme Primitive Folk Art L...
FolkArtandPrim...


Gypsy The Primitive Black Ca...
scaredycatprim...


Primitive Crow, Sunflower an...
YorkiesPrimiti...


Primitive Scarecrow with Pum...
PrimitiveBlack...


Primitive Pumpkin crow stack...
ahlcoopedup

Primitive Pumpkin Doll with ...
PrimitiveBlack...


Primitive Needle Punch Pillo...
thetalkingcrow


3 Primitive Fall Halloween S...
oldgoatprims


Primitive Crow on the Pumpki...
VintageTrimmin...

Tuesday, September 10, 2013

Tuesday Tutorial - Burlap Bag Jack-O-Lantern

Burlap seems to be really popular right now for decorating and I've found a really cute video tutorial for making a jack-o-lantern decoration out of a burlap bag.

Hope you enjoy it as much as I did.


Happy Fall!
Deena Davis
www.byyourhands.com

Monday, September 9, 2013

Jacquie's Up-Cycle Nation: Halloween Tricks

Halloween is the perfect holiday for up-cycling!
Using old books and left over scrapbook supplies, cast-off coasters can become mini works of art.
The key is simplicity.  Don't over think the design. Less says more.
Start by prepping the coasters:
* Sand the coaster surface
*Apply a coat of Gesso
*Sand the Gesso layer
Using old books cut out letters, words, faces, and fun images.  Mix the paper elements with left over scrapbook supplies to create whimsical combinations. 
Play with different designs but, again, don't over-think the layout.  Too much concentration on theme can lead to frustration.


Halloween is a good time to drag out all those cool tints, inks, and paints that have gone unused in the past year.  Experiment with color and texture to create a creepy cool effect.
This mottled brown was achieved with watered down black acrylic paint brushed on and immediately blotted of with a textured paper napkin.
 
 Once the coasters have the right background, use Mod-Podge to cement designs in place.  After the first layer is dry more embellishments can be added.  Use markers, more paper, glitter, or whatever strikes a ghoulish fancy!
As embellishments increases, remember to cover each layer with Mod-Podge to protect the design.
Once finished, apply adhesive magnet sheets to the back to create festive magnets or attach a hanger and display as mini works of art.
 
These little vignettes are perfect for home décor or ghoulish gifts.  Remember to keep them easy and have a fiendishly good time in the process!
LOVE  &  UP-CYCLE NATION

Sunday, September 8, 2013

Blog Party Sunday -- Show Off Your Handmades

Welcome to our Blog Party Sunday. We would love to have you show us what you are crafting.

You are allowed to add 3 links to your shops or your blog each week.

The rules are simple:
1. Follow our blog
2. Handmade items only.
3. You may list up to 3 items each week.
4. Family friendly items only.

The success of this link party depends on the participants so spread the word to your friends, visit the shops, post about it on your blog, in a forum or on your favorite social networking site, grab the button and put it on your blog or website.
Just click on the Add Your Link button below and add your items.
And if you would like to add a link to the party you can grab this button below.