Primitive Folk Art Doll

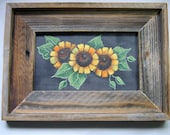
Primitive Folk Art Halloween Pumpkin Doll

Primitive Folk Art Halloween Bunny Doll

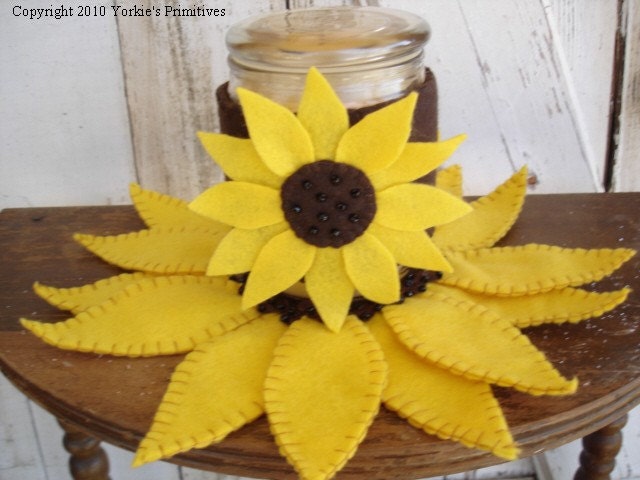
Primitive Folk Art Snowman Doll


 $12.95 |  $25.00 |
 $10.95 |  $2.00 |
 $12.00 | 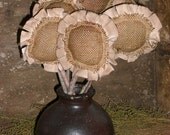 $13.00 |
 $18.00 | 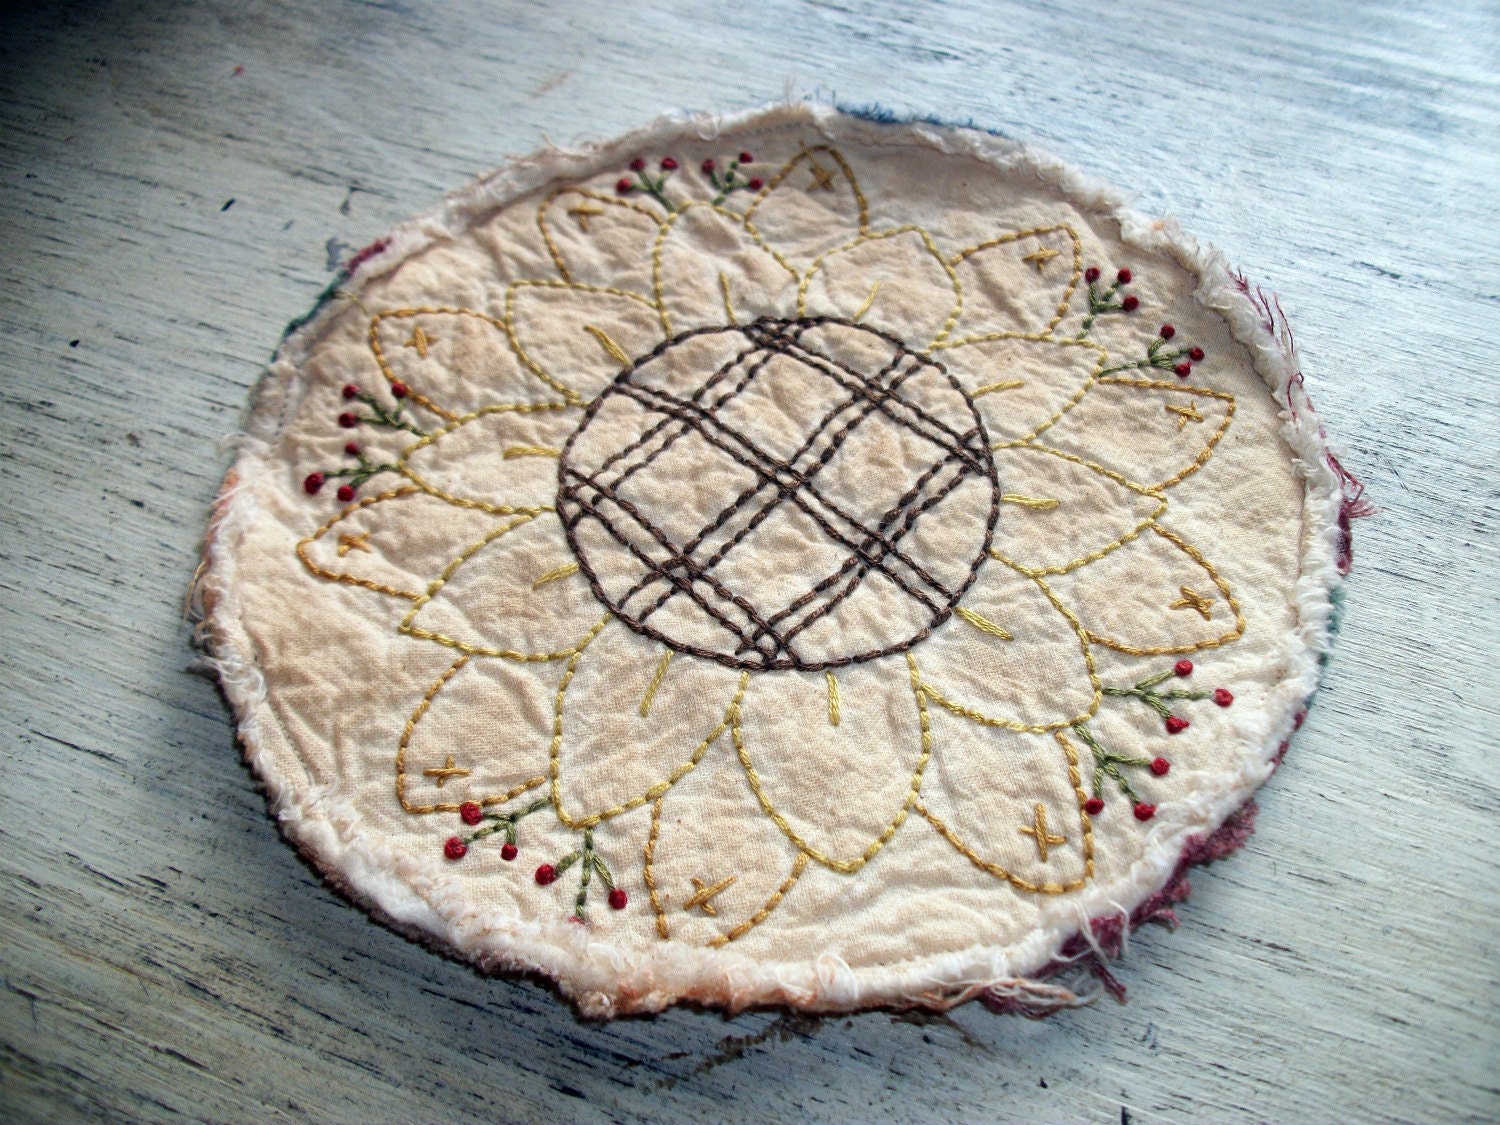 $9.50 |
 $5.00 |  $45.00 |
 $5.00 |  $16.11 |
 $8.50 |  $4.00 |
 $15.00 |  $22.95 |